How to Make Your Own Money Mason Jar
Table of Contents
Having your bank accounts set up properly so that money is automatically put in is a great way to save.
The traditional money jar is also a great way to save up funds and can be a lot more fun because you get to stow away your change and see it build up.
{This post may contain affiliate links, which means that I may receive a commission if you make a purchase using these links. Full disclosure policy.}
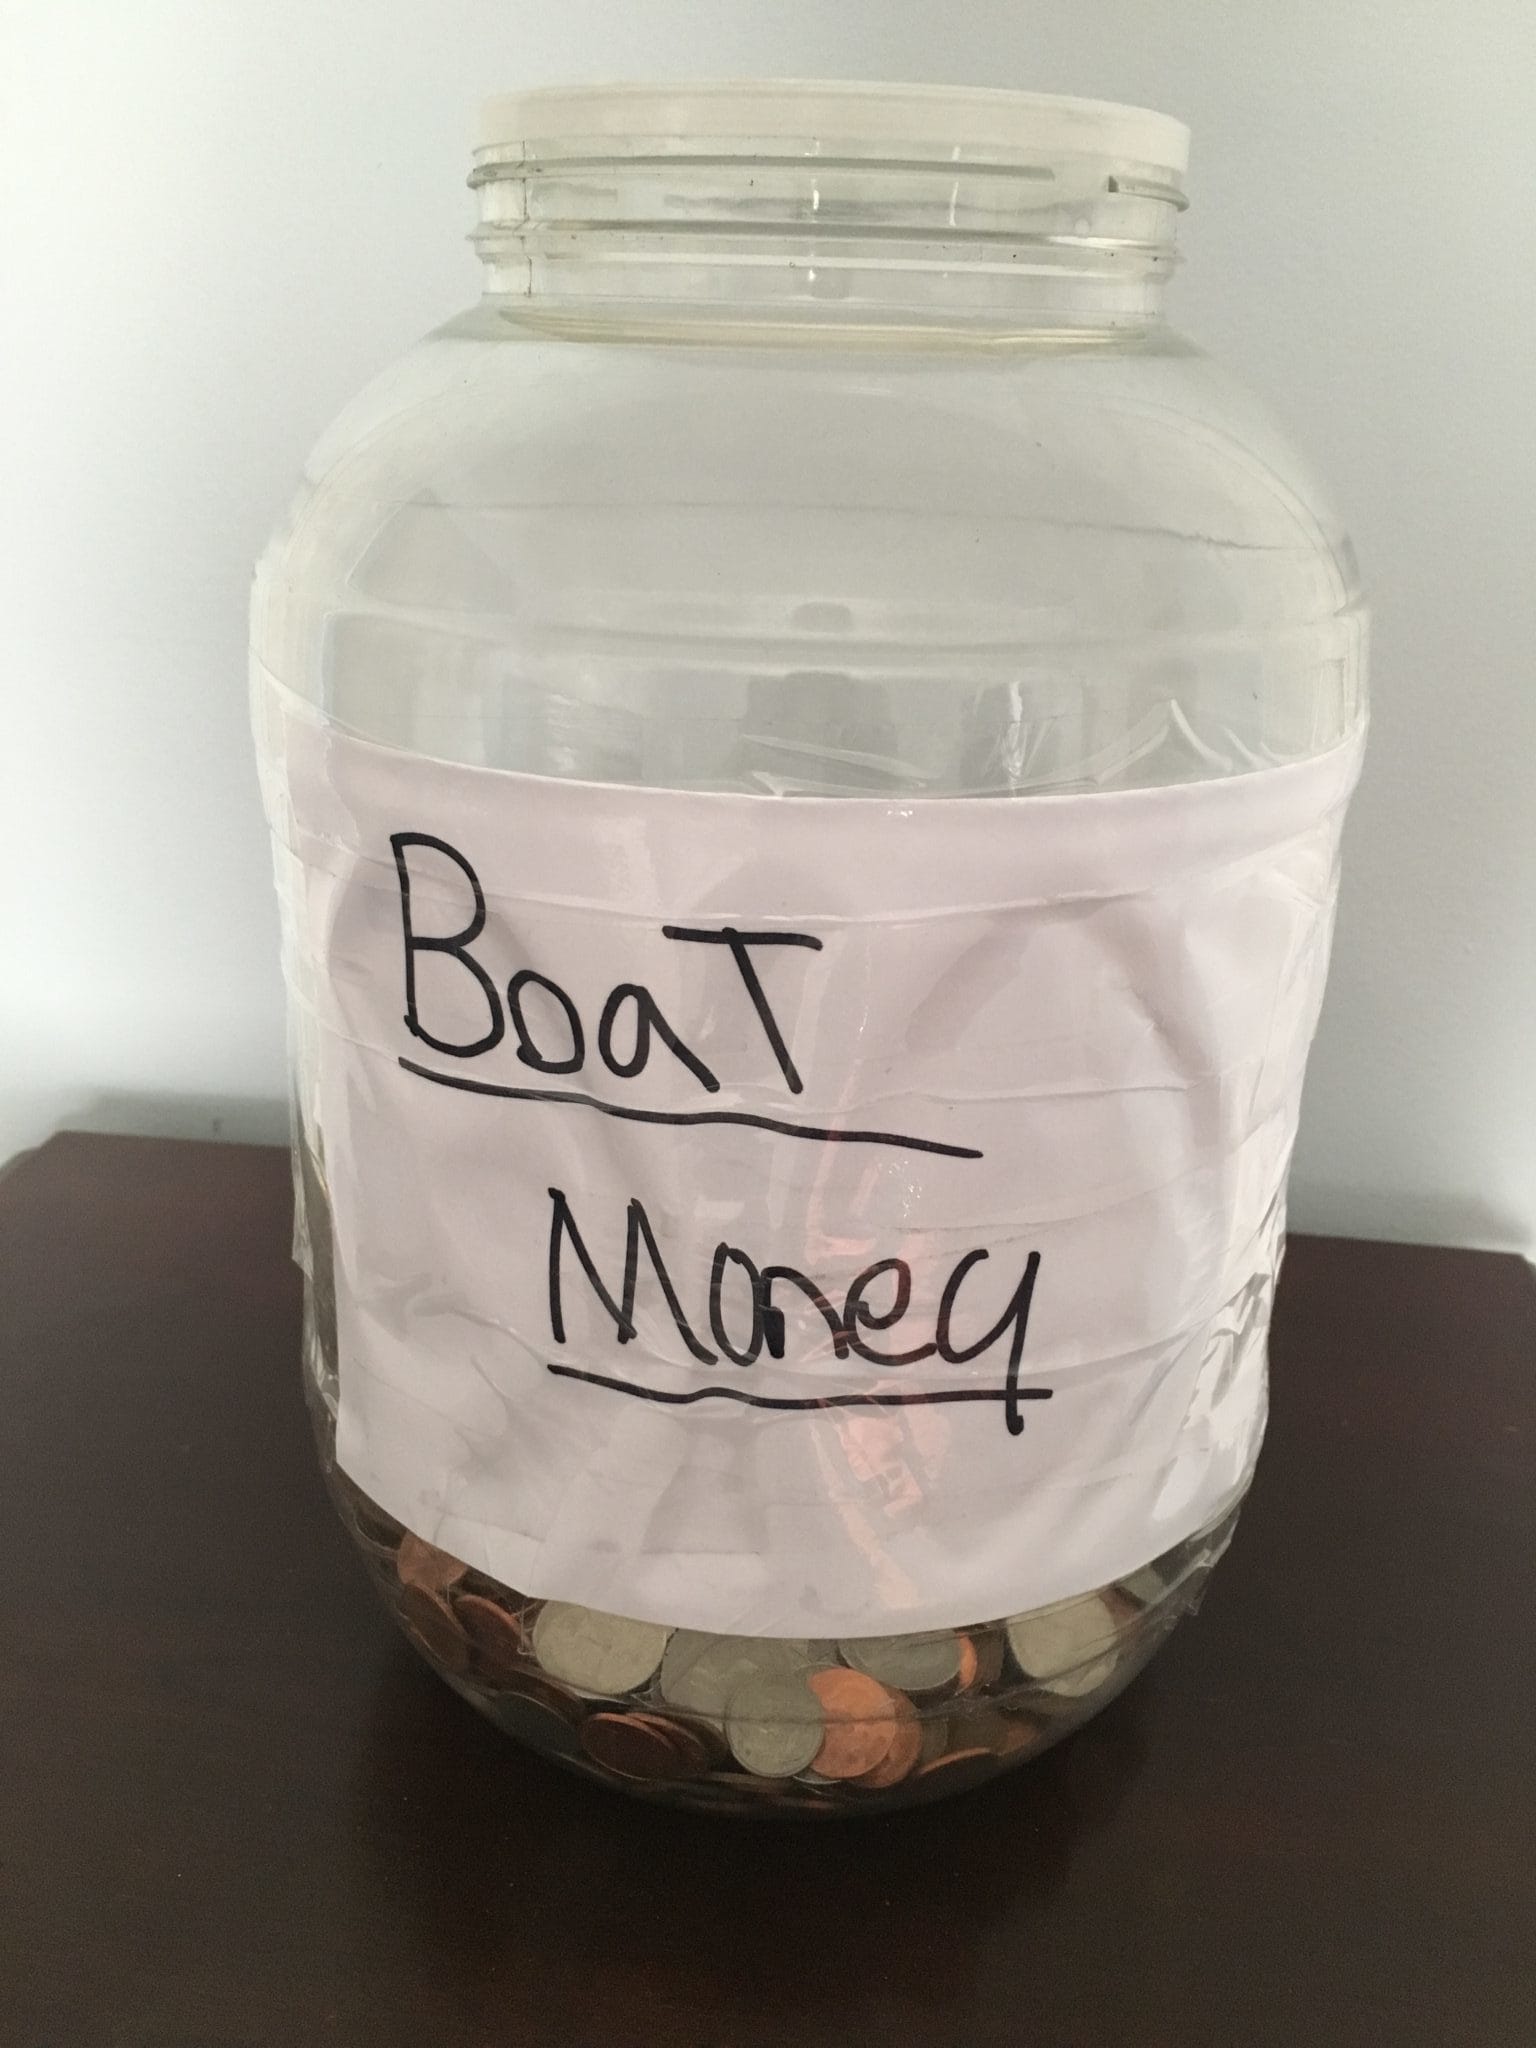
My hubby has his own money jar (plastic cheese ball tub) that he is using to save up for his boat.
I wanted to make my own glitter money jar so I got thrifty and used supplies we had in the house.
Remember you’re trying to save money NOT spend it so just use what you have at home.
GLITTER MONEY JAR TUTORIAL
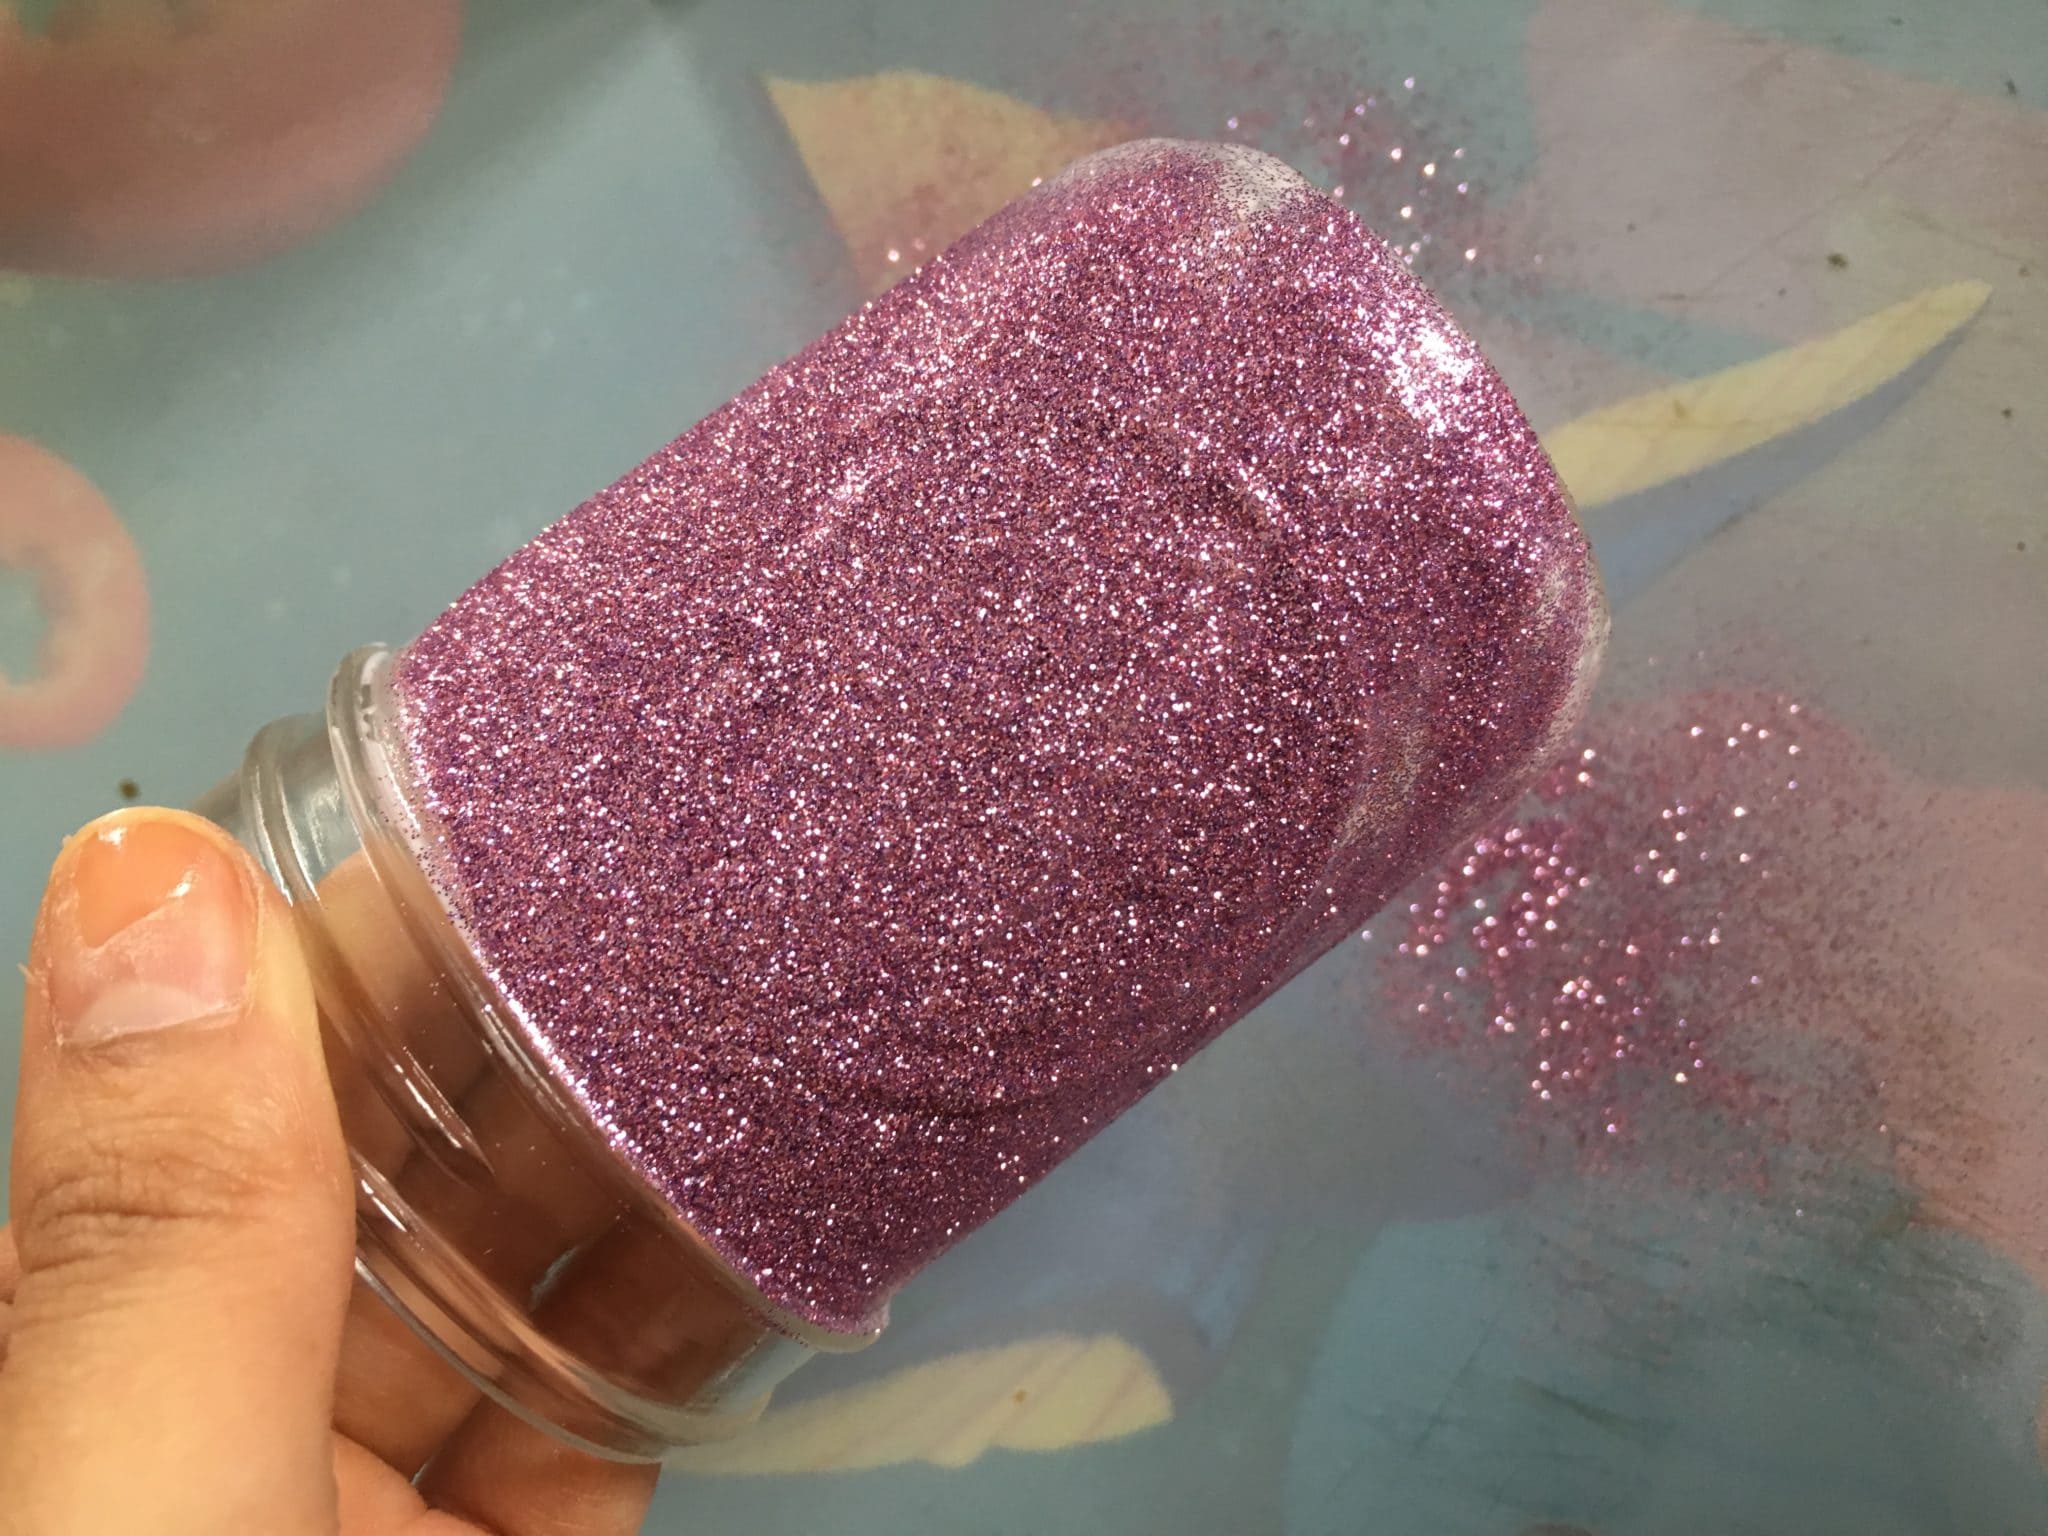
I took a glass mason jar and spread school glue all over the parts I wanted it to be glitterfied. I couldn’t find a paintbrush so I just used my fingers.

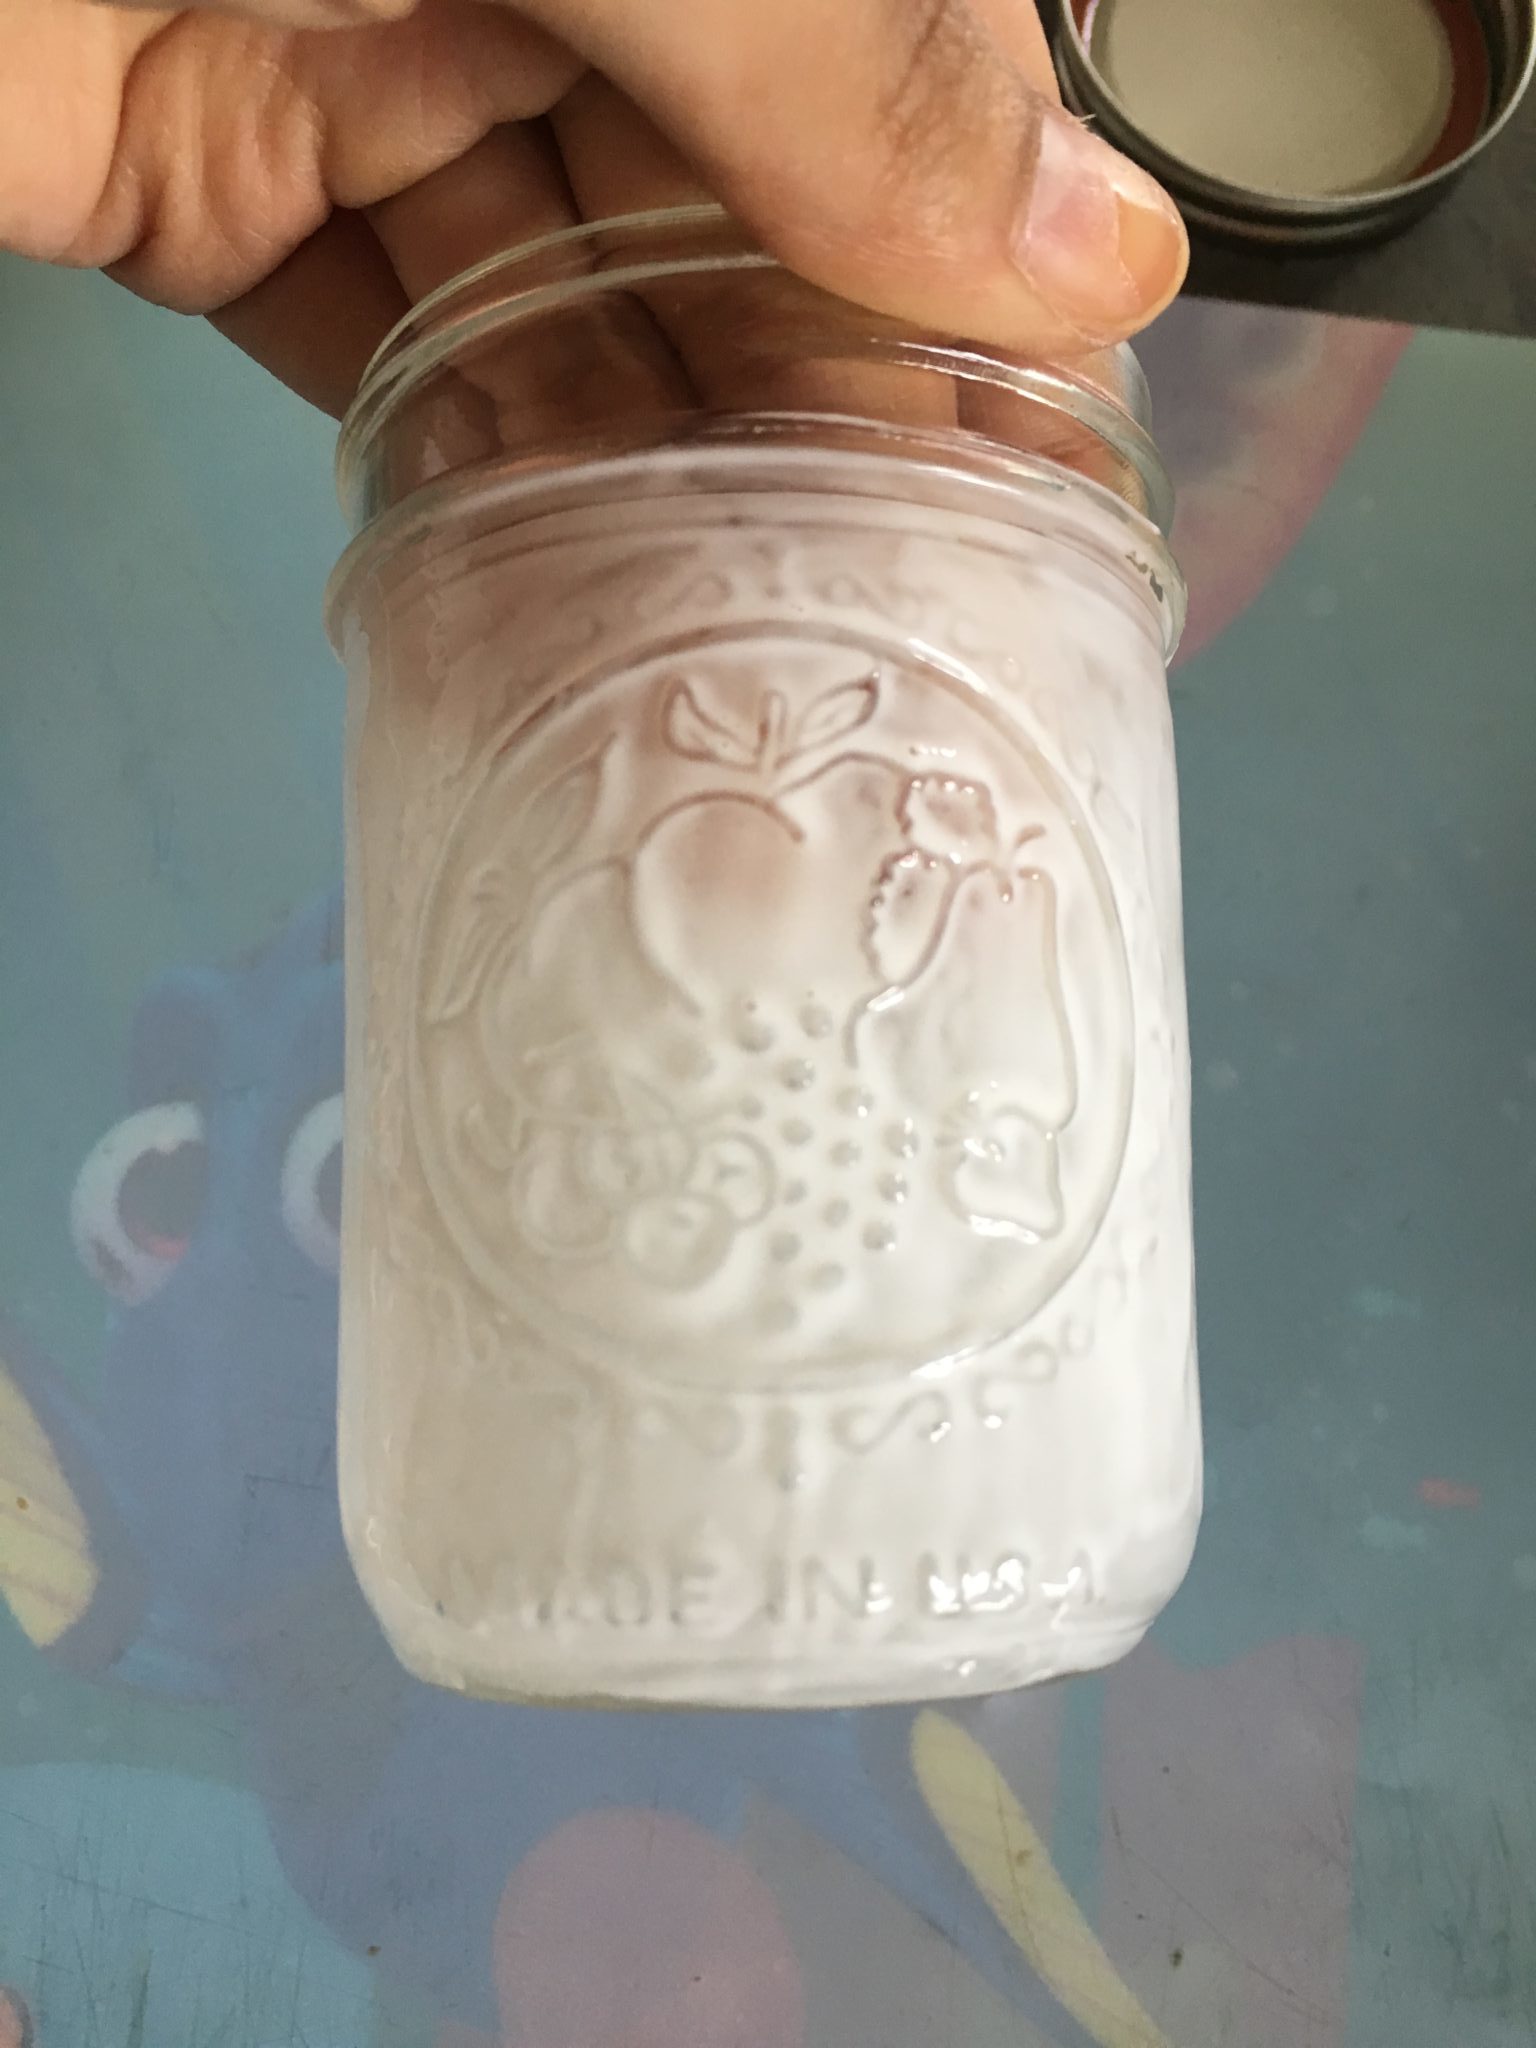
Spread the glue as evenly as possible. It’s probably easier with a foam brush. I just went back around and smoothed it well especially by the ridges where glue tends to build up.
After the mason jar was evenly coated I got my inner fairy on.
Sprinkle glitter everywhere.
Now is not the time to be stingy. The extra glitter will just fall off.
Not all glitter is created equal. Don’t let anyone tell you otherwise.
I used Martha Stewart fine glitter. I have about 8 small jars and it lasts forever.
It goes on so evenly and because it is super fine it gave my glitter money jar a smoother finish. I just love how it sparkles.
Be sure to have a piece of paper or placemat underneath to catch all of the extra glitter goodness and put it back into the bottle. No wasting!
After your glitter mason jar is covered let it sit somewhere to dry.
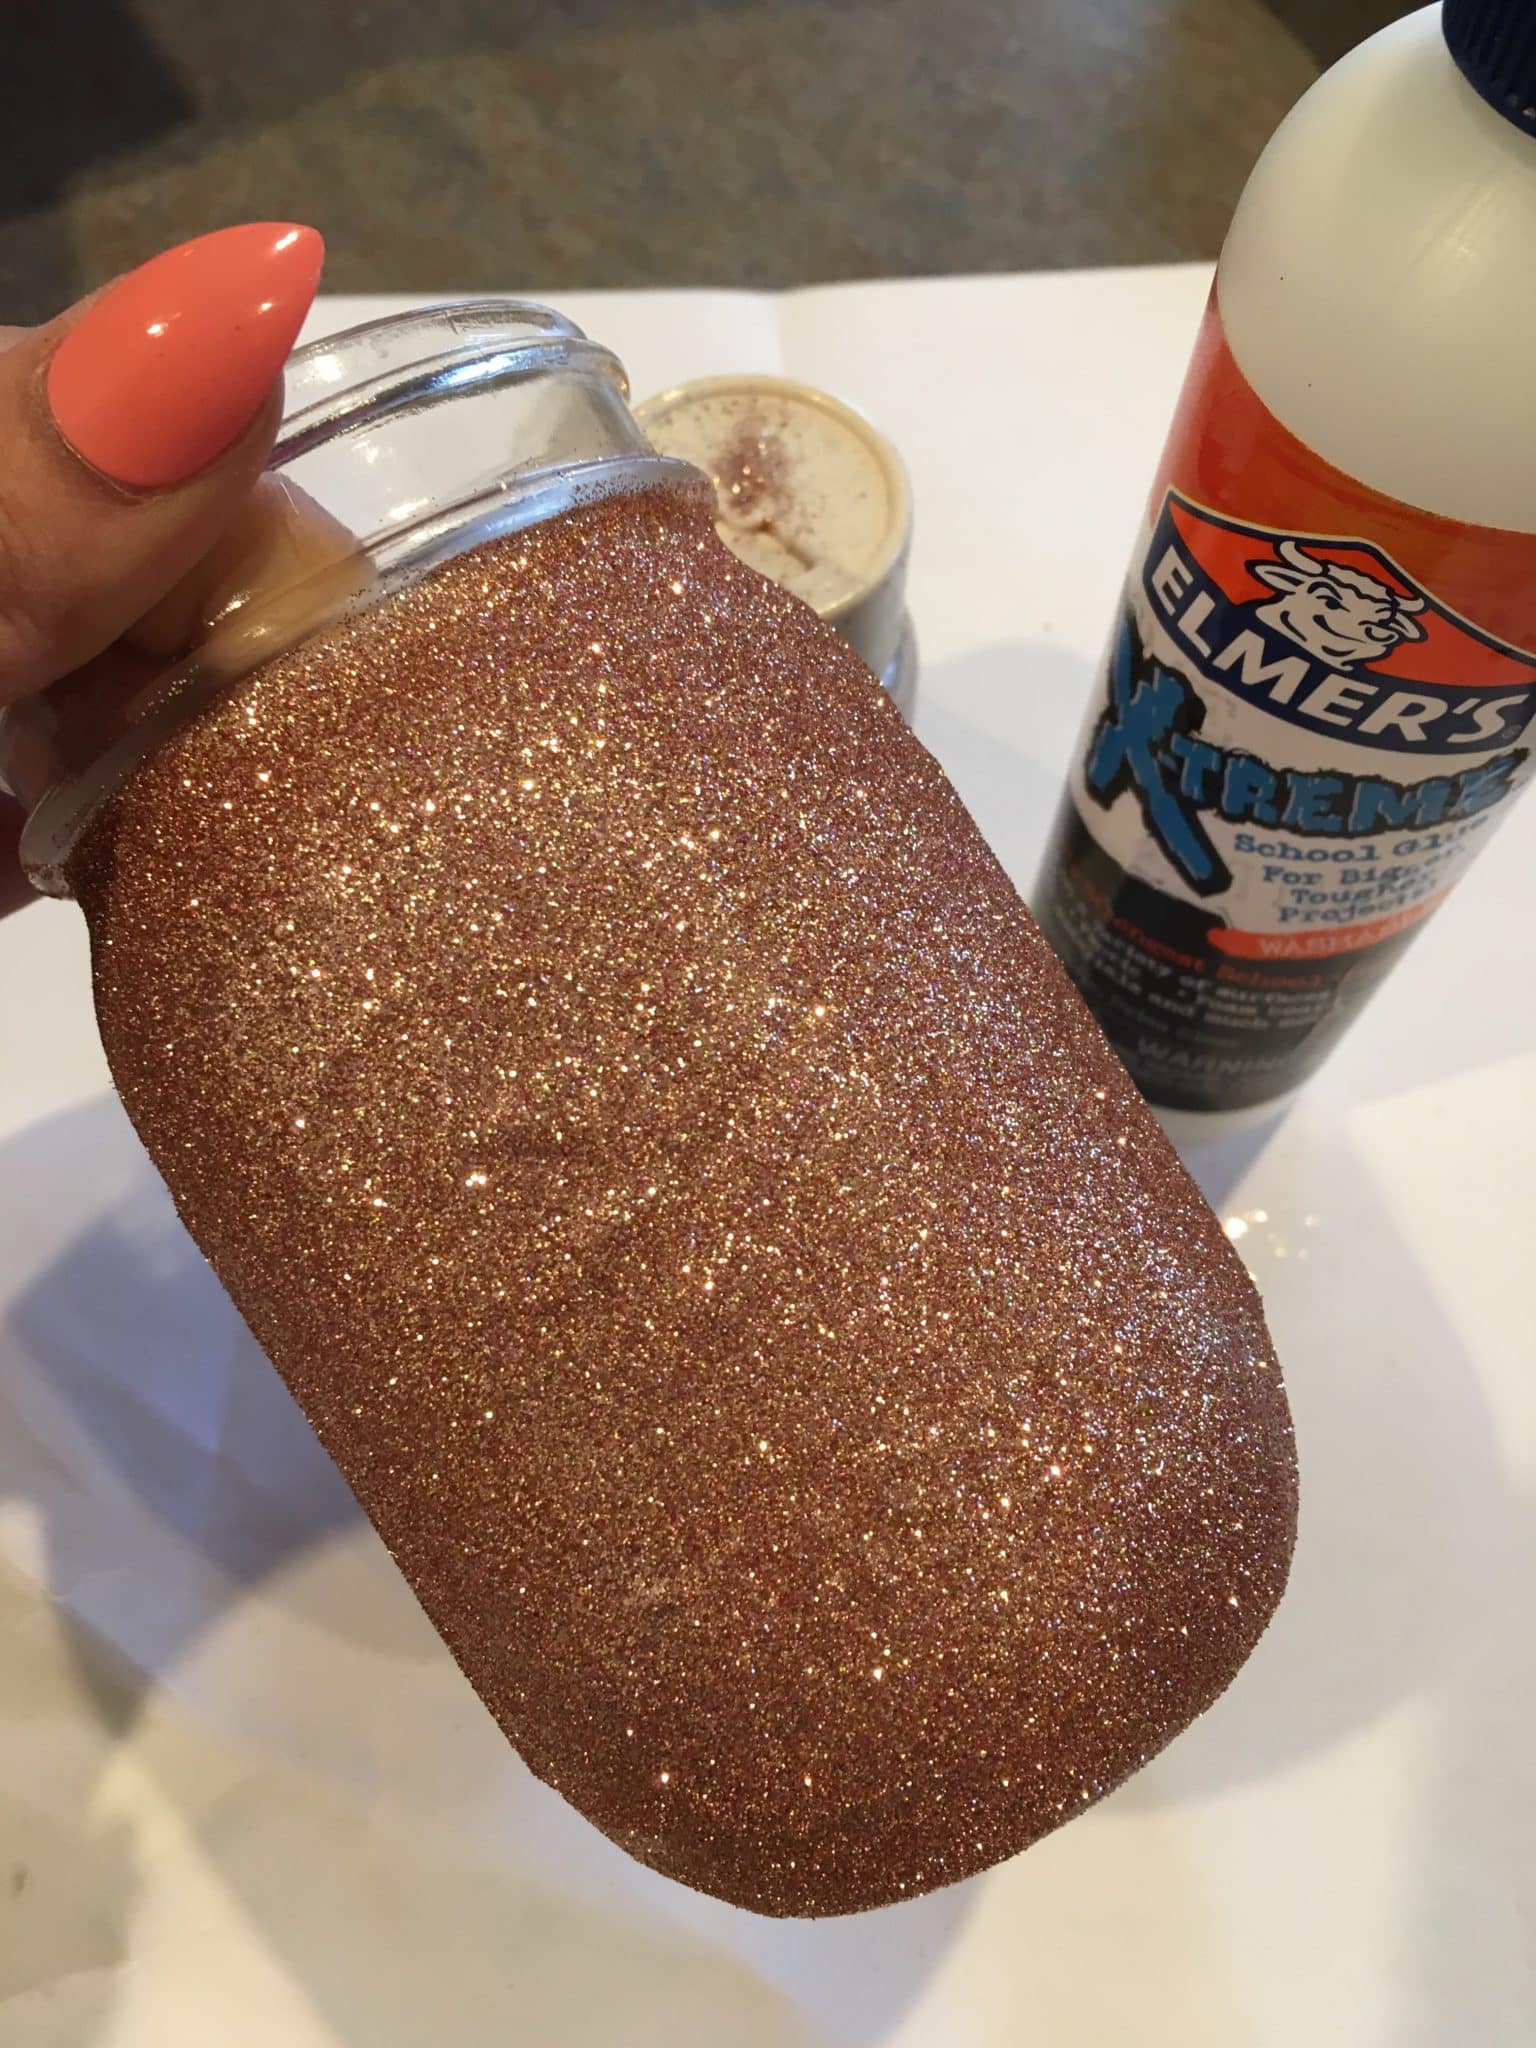
Because I had glaze topcoat handy I also sprayed the money jar for an extra shiny finish. This also helps keep the glitter from coming off and sticking all over the place.
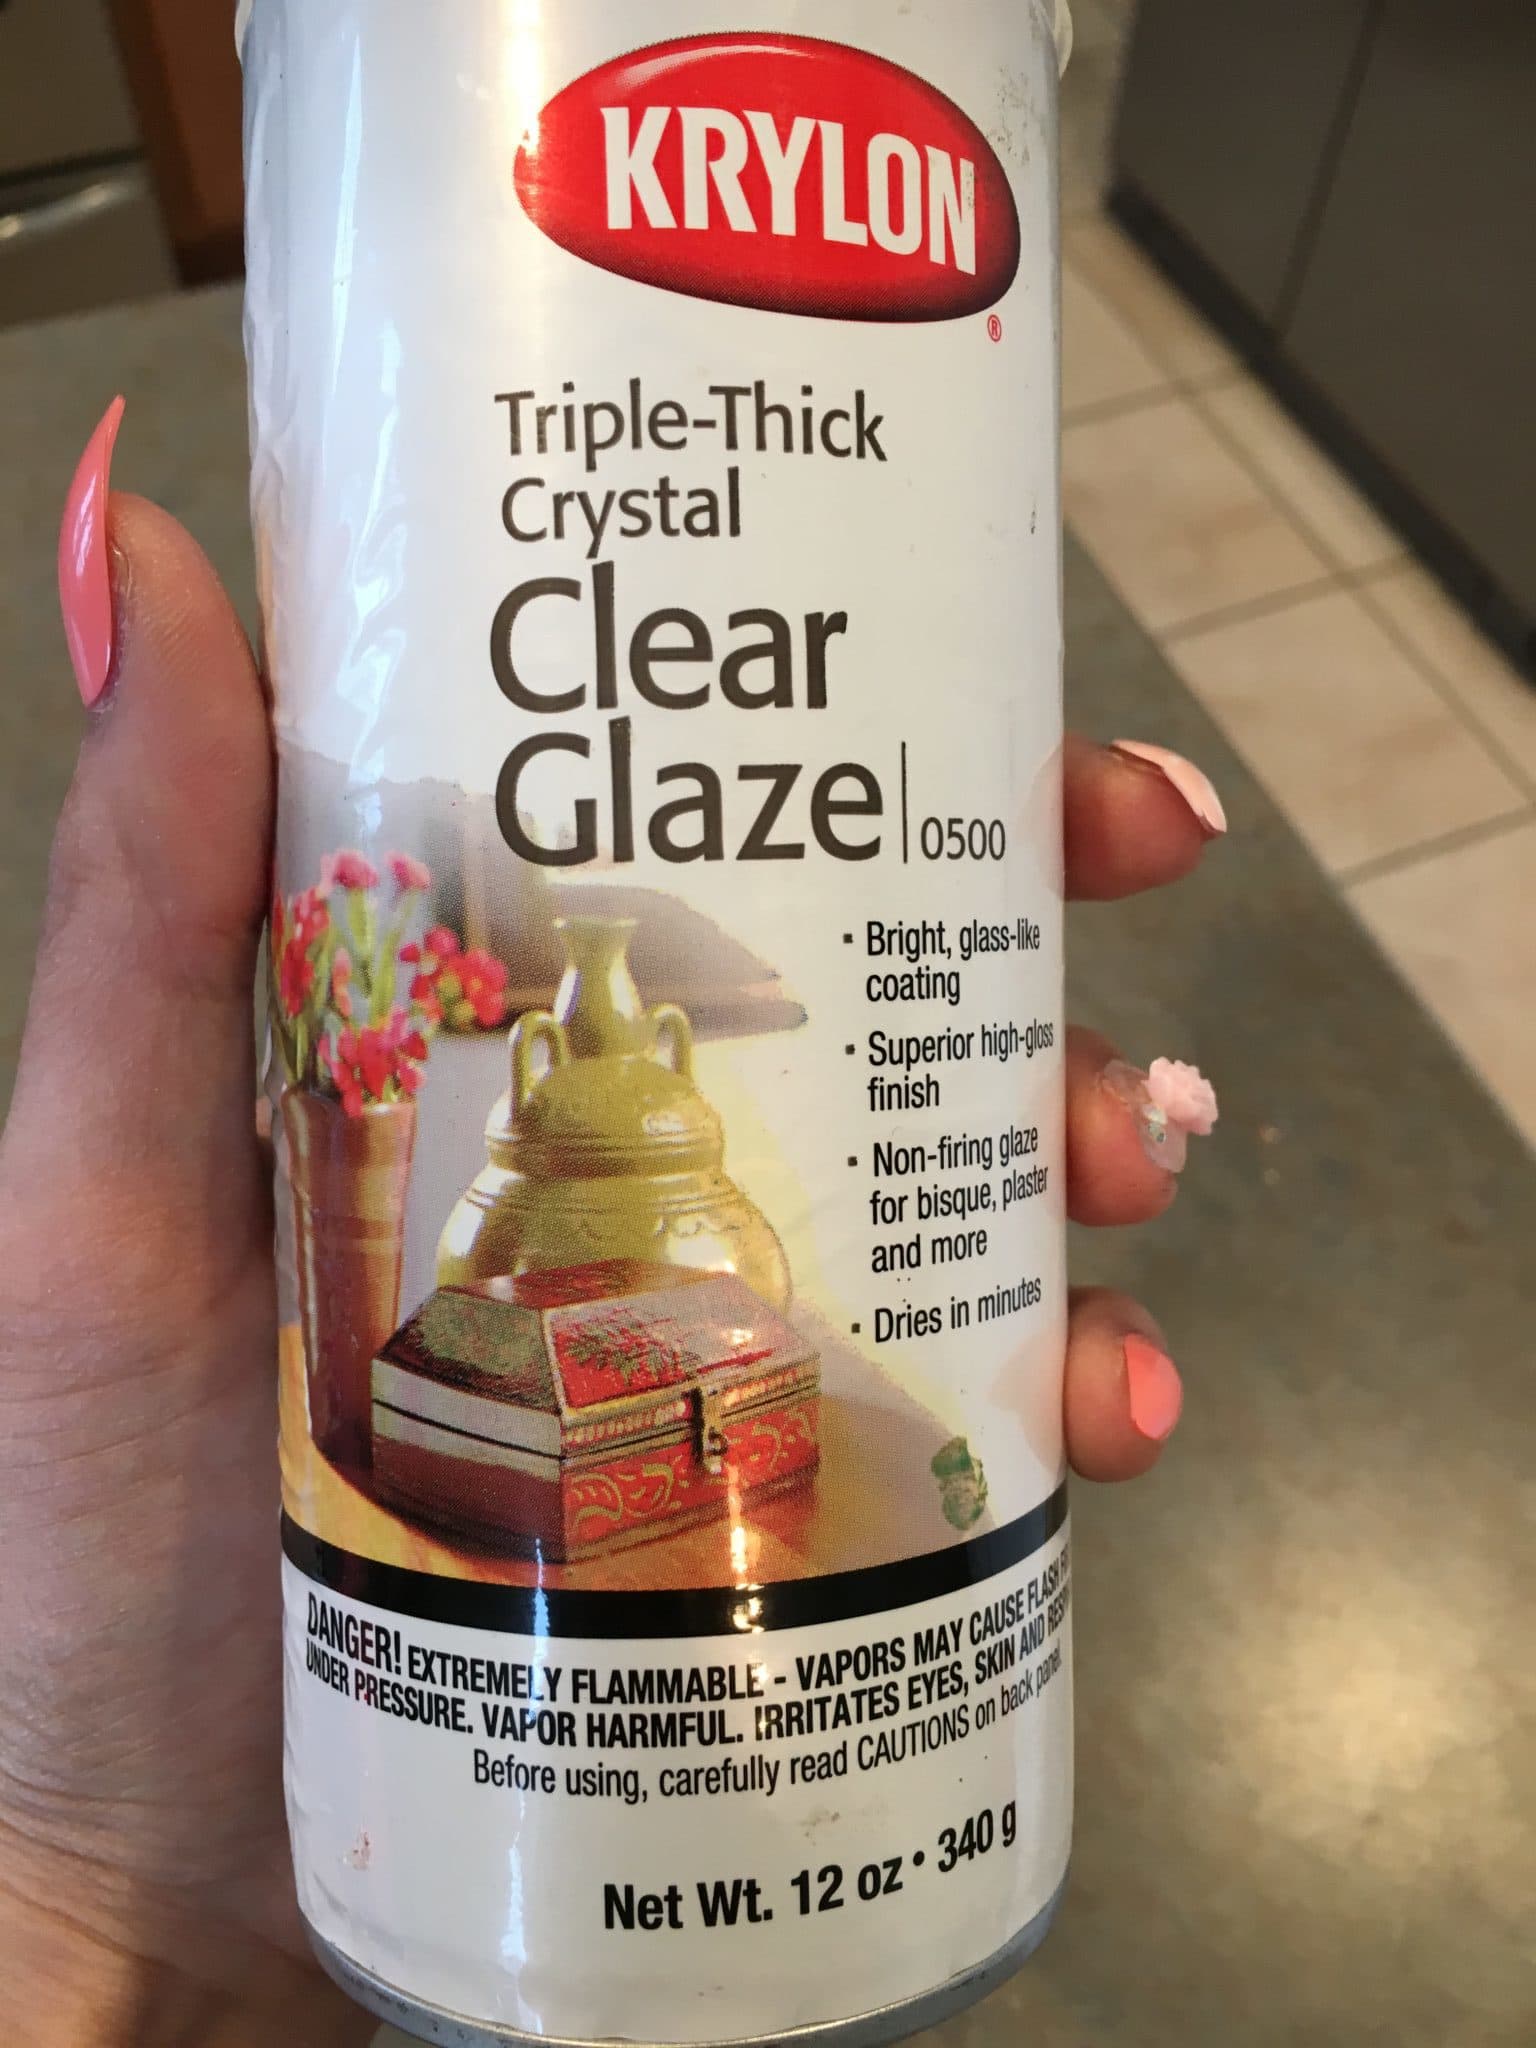
If you don’t mind getting glitter all over yourself or having your significant other think you hit up the strip club by all means skip the spray.
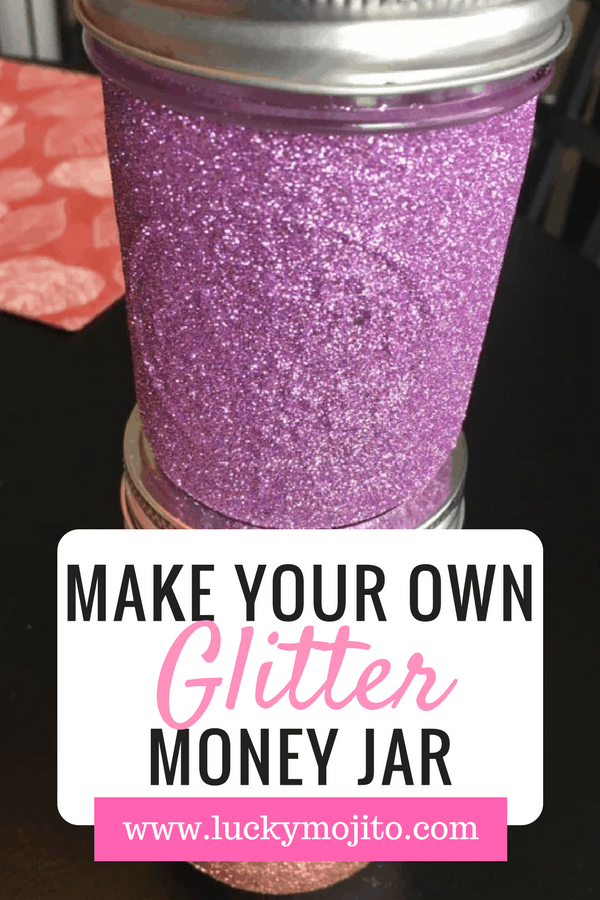
Ta-da!
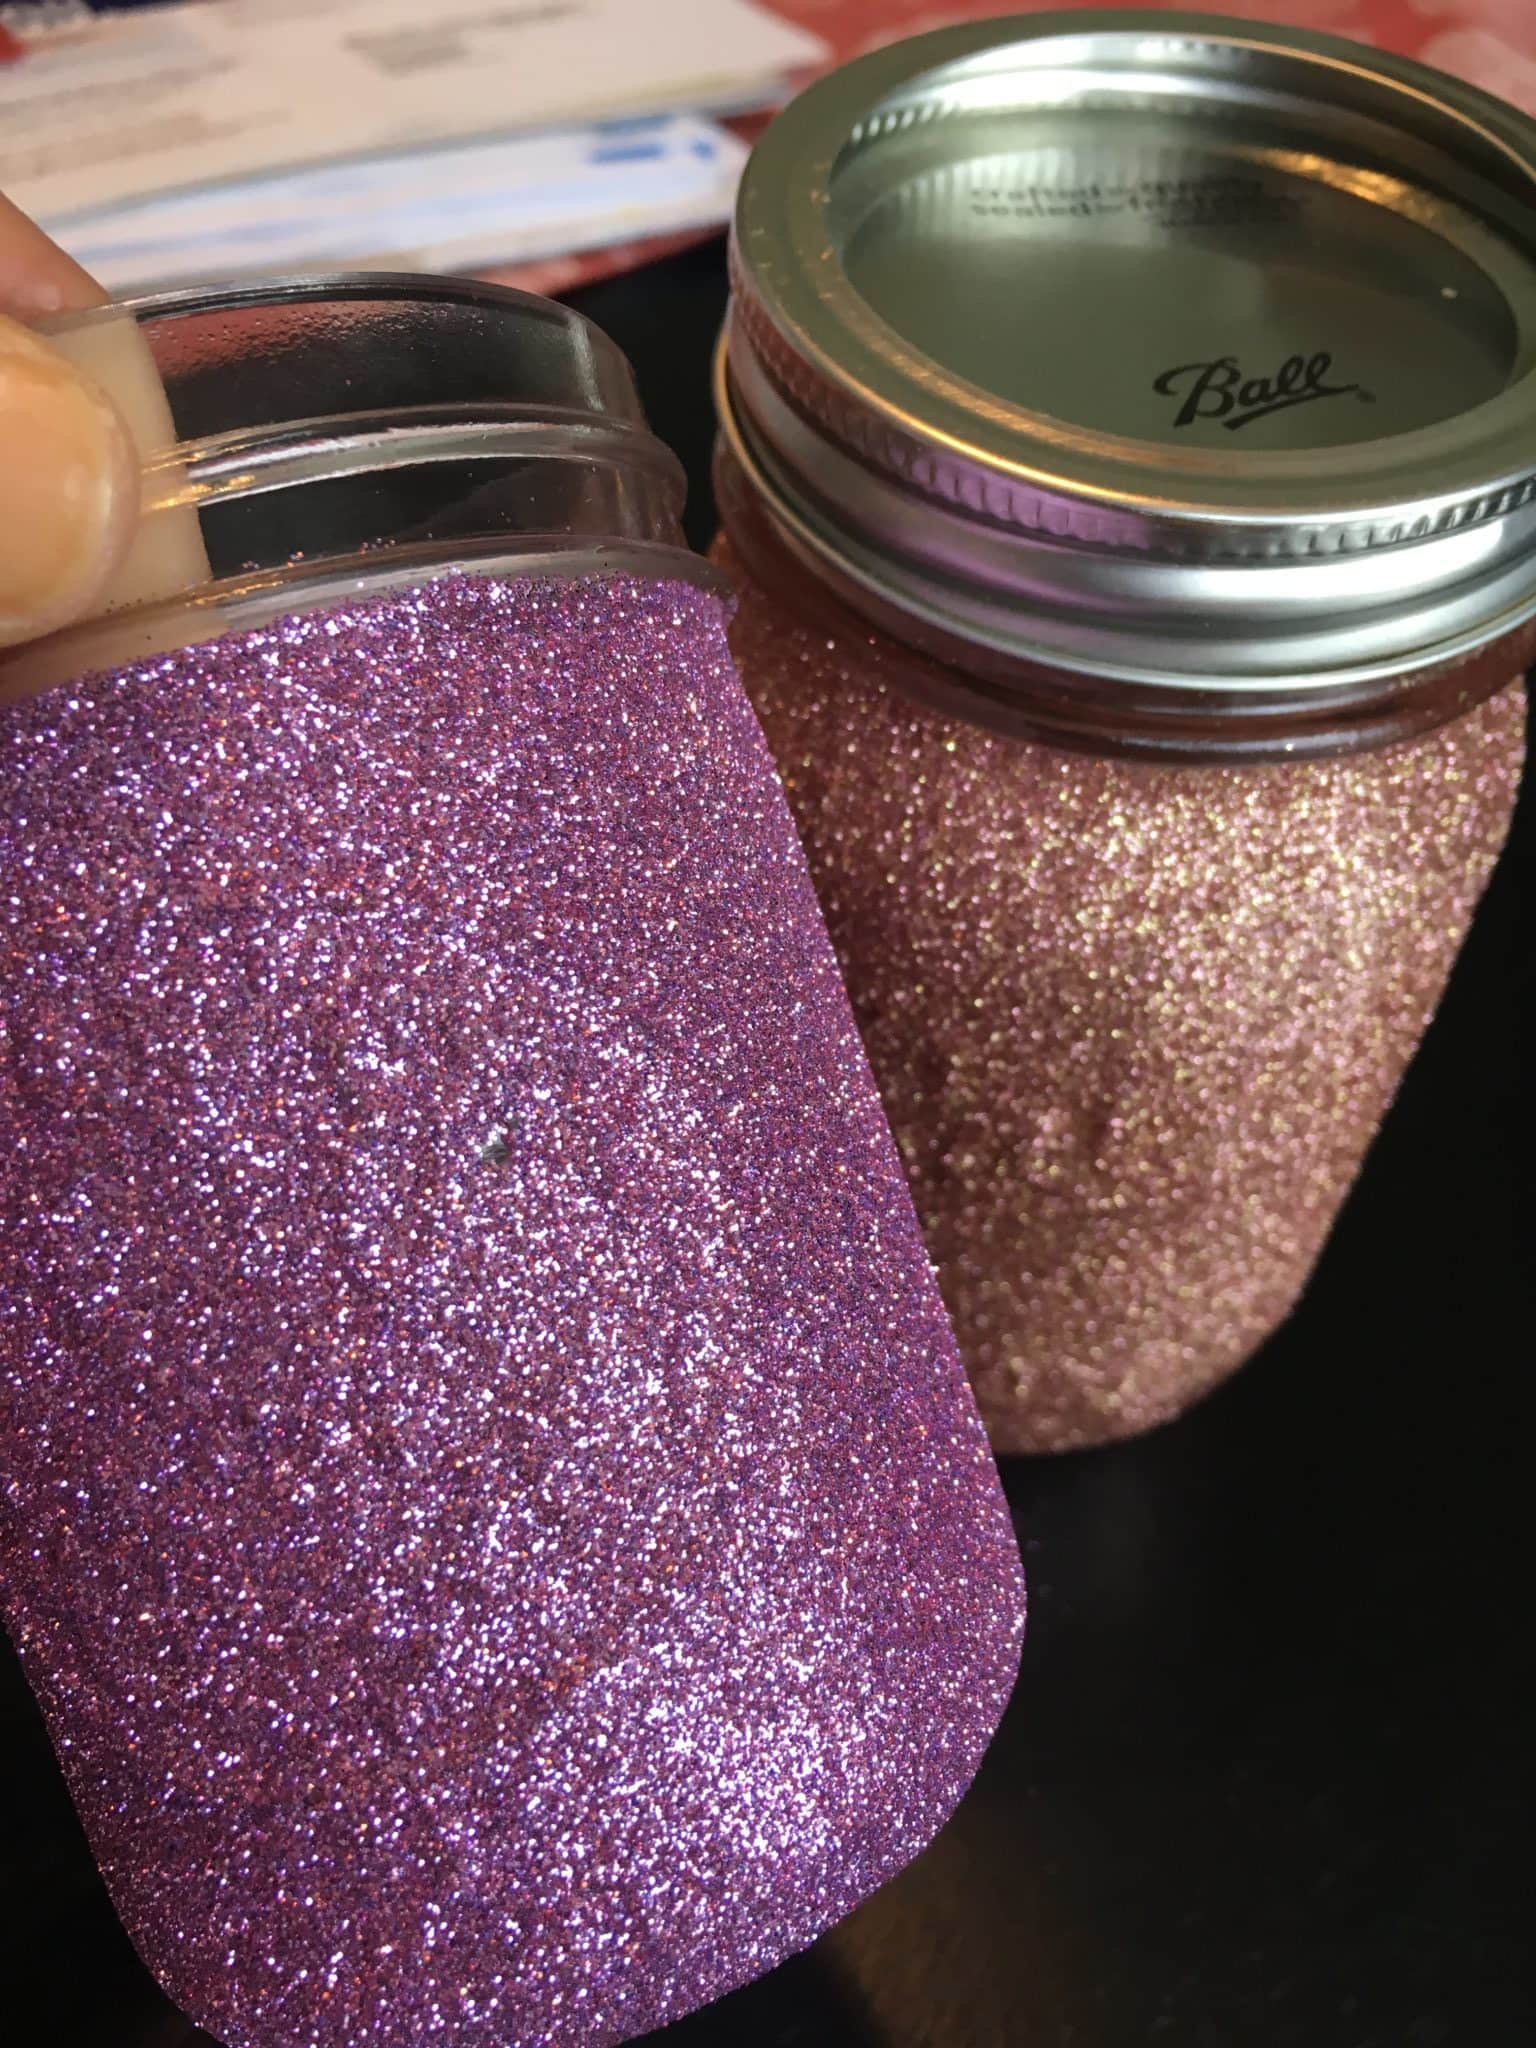
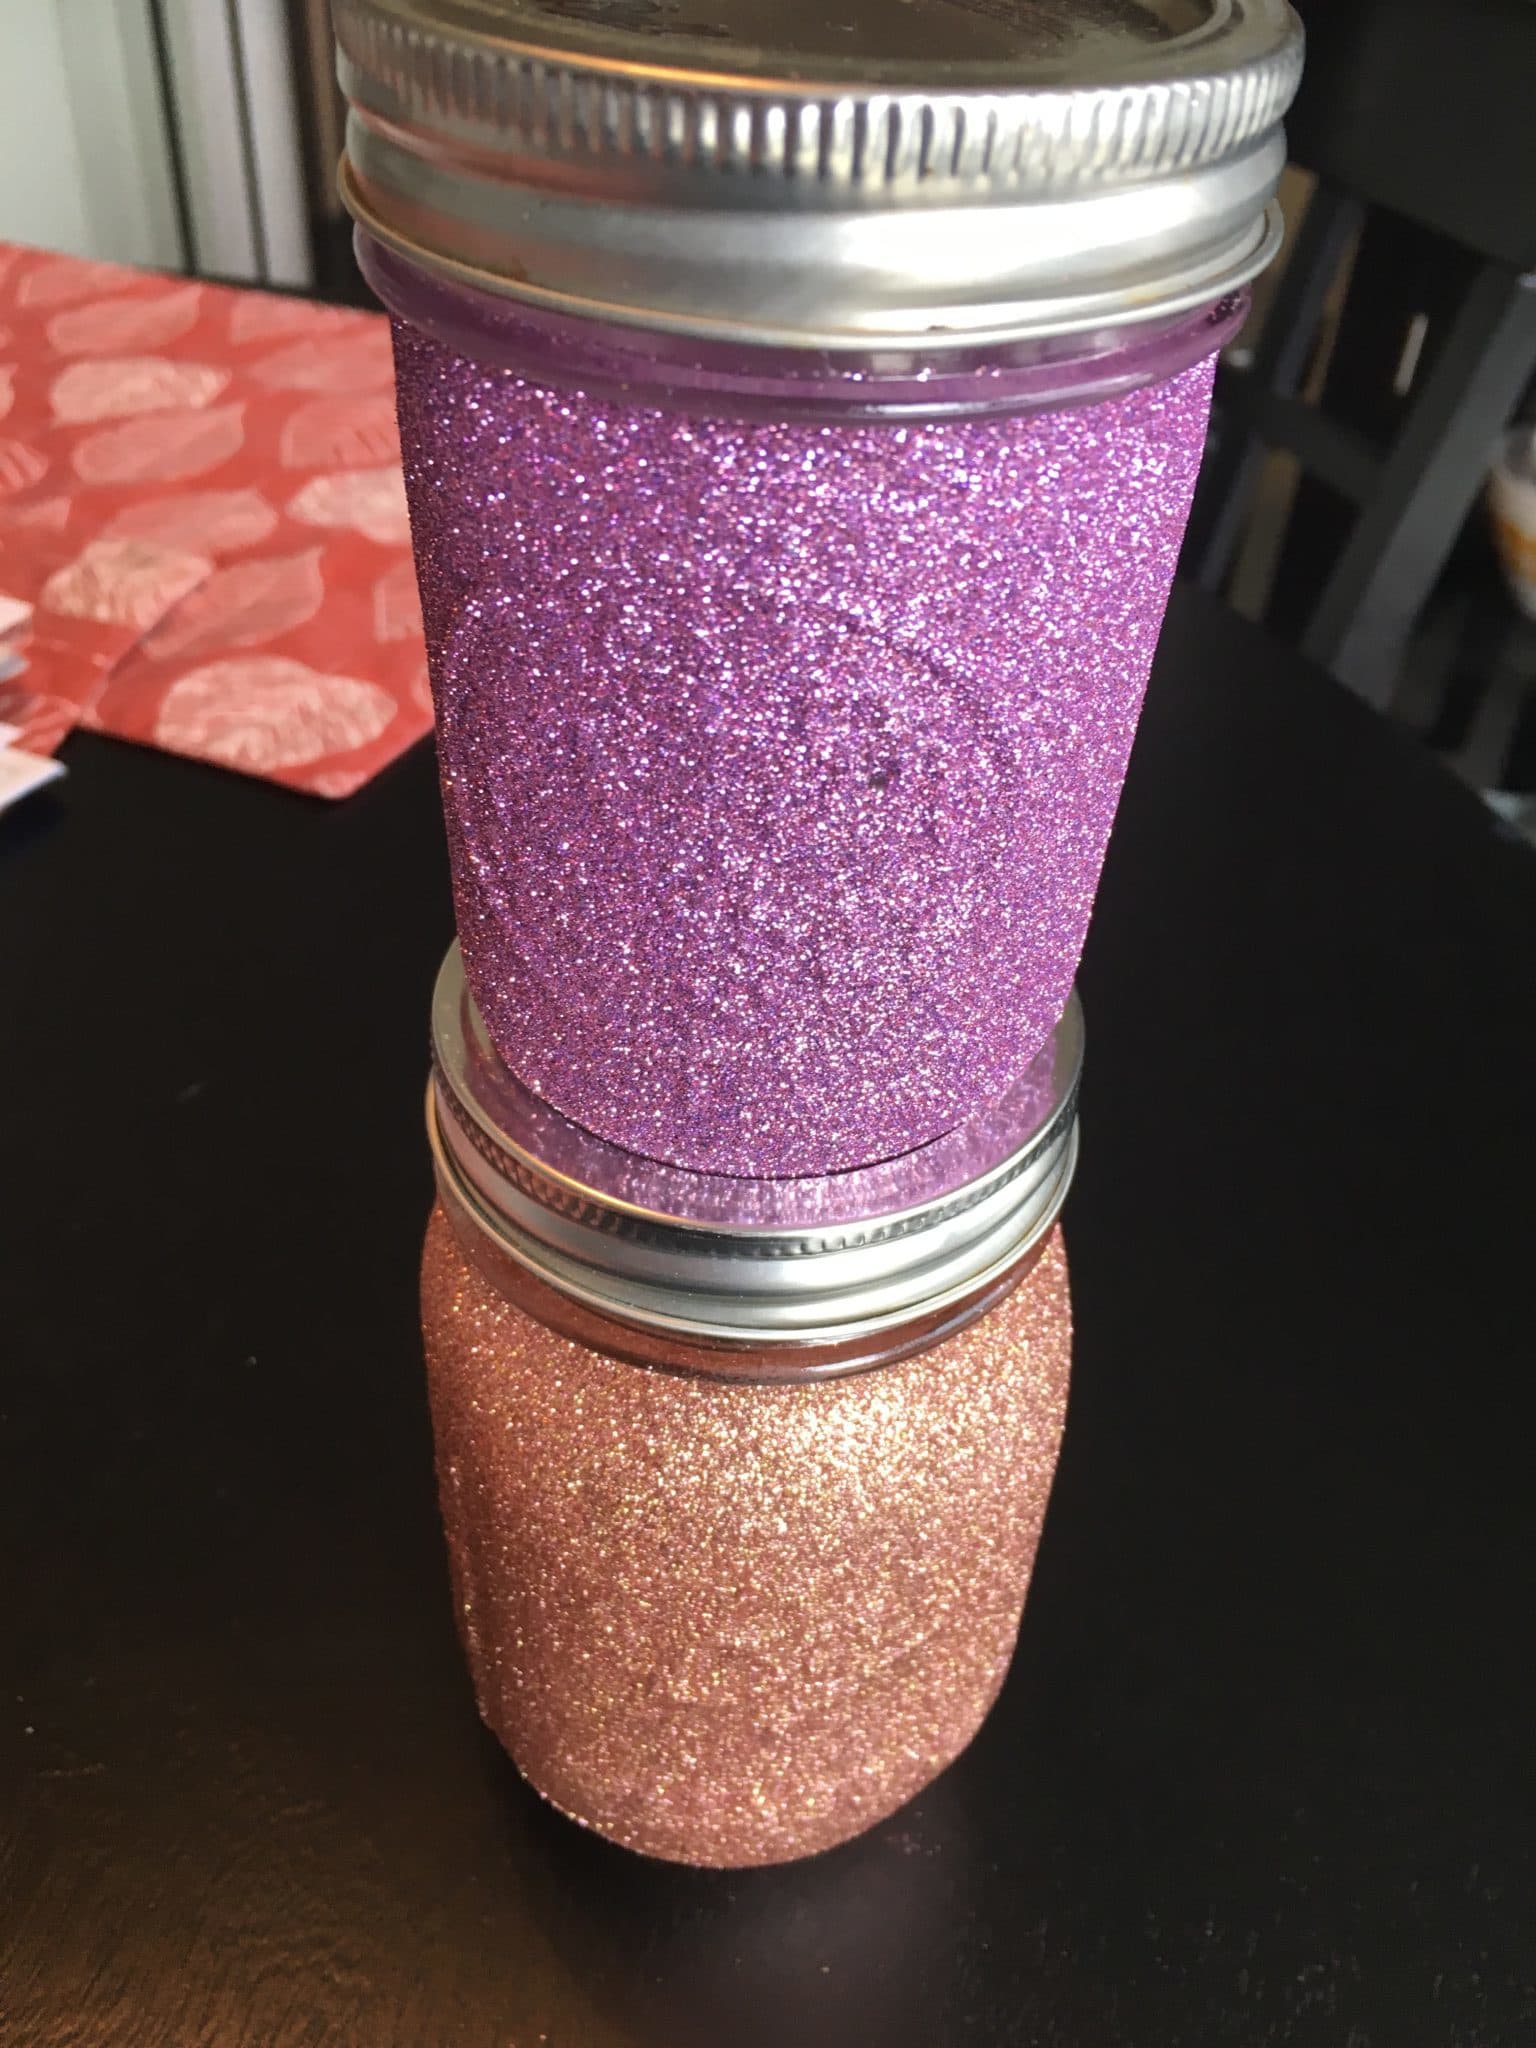
You’ll see I made 2 glitter money jars. One big one and one smaller. My daughter saw mine and like her mom is attracted to all things sparkly.
Some tutorials suggest using Modge Podge. That’s the stuff used to do decoupage and other arts and crafty projects. It’s a glue and sealer.
If you have it lying around feel free to use that. I’d use the glossy variety.
It’s more money and since I didn’t have any I just used leftover glue from our slime making day.
Time to make your own glitter money jar.
If you don’t have a mason jar or glitter (it’ll be okay) here are a bunch more ideas of what you can use to make and decorate your own money jar.
I’m going to be starting a $300 money saving challenge that you won’t want to miss!
MONEY JAR DECORATING IDEAS
CONTAINER:
Coffee tin
Cookie tin
Milk jug
Bottle
Cheese ball container
Shoe box
DECORATIONS:
Glass paint
Tissue paper
Colored glue
Fancy duct tape
Stickers
Take your container of choice and decorate the heck out of it. Seeing it every day is part of what will motivate you to save so make it to your liking.
Once you’re done making your own money jar start a money saving challenge with your family and friends. It’s fun and at the end of the day everyone wins!
So doing this! Thanks for posting who knew it would be that easy. Makes a great thoughtful gift as well!
I didn’t even think of that. I love that idea. Maybe I’d put a little money in the jar to start their savings off too.