
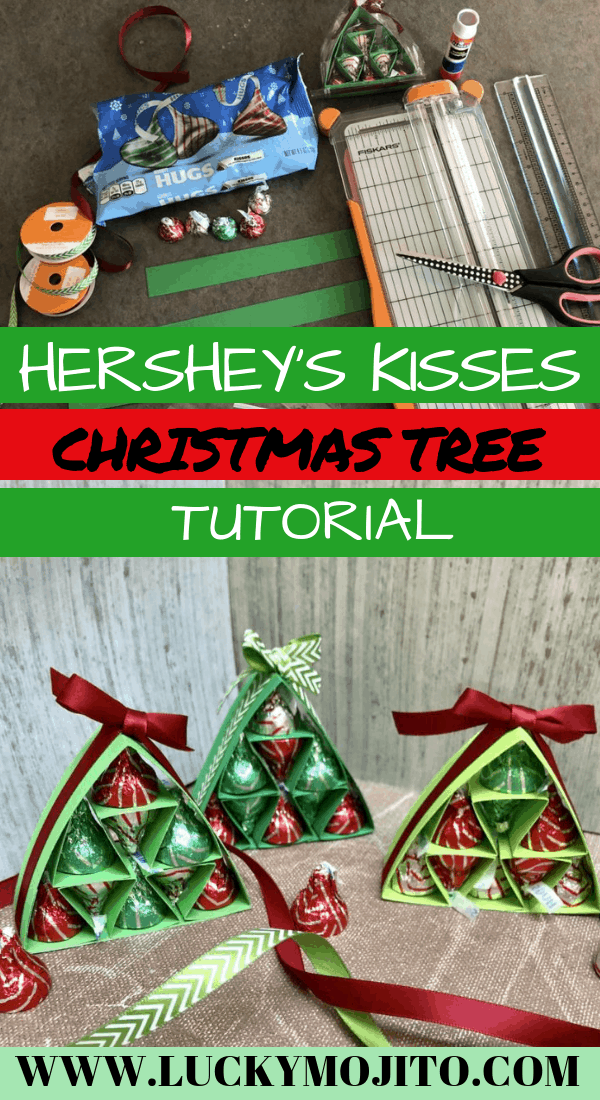
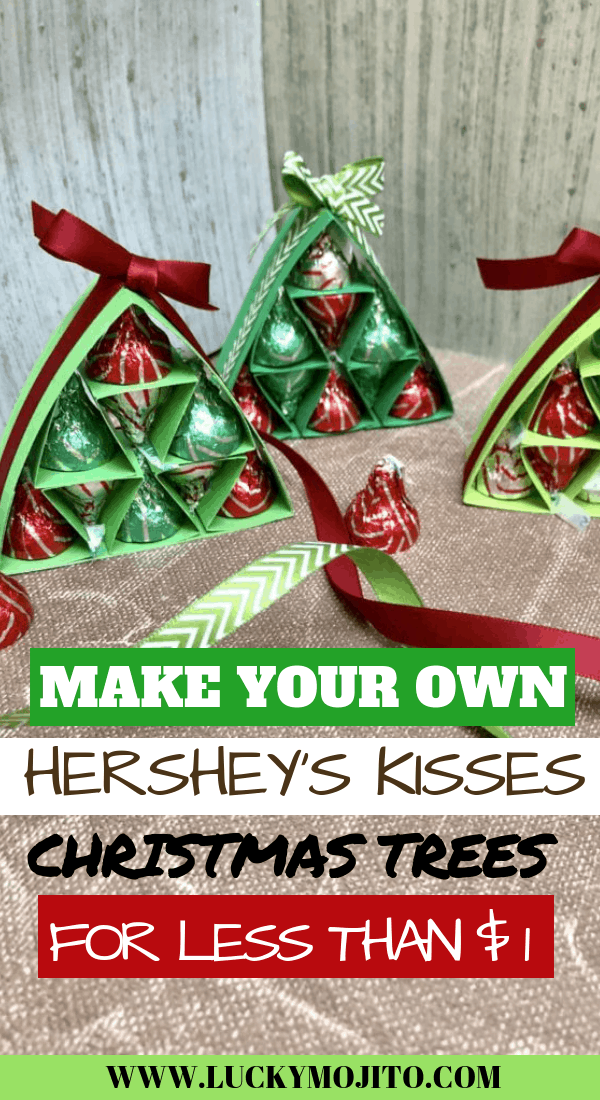
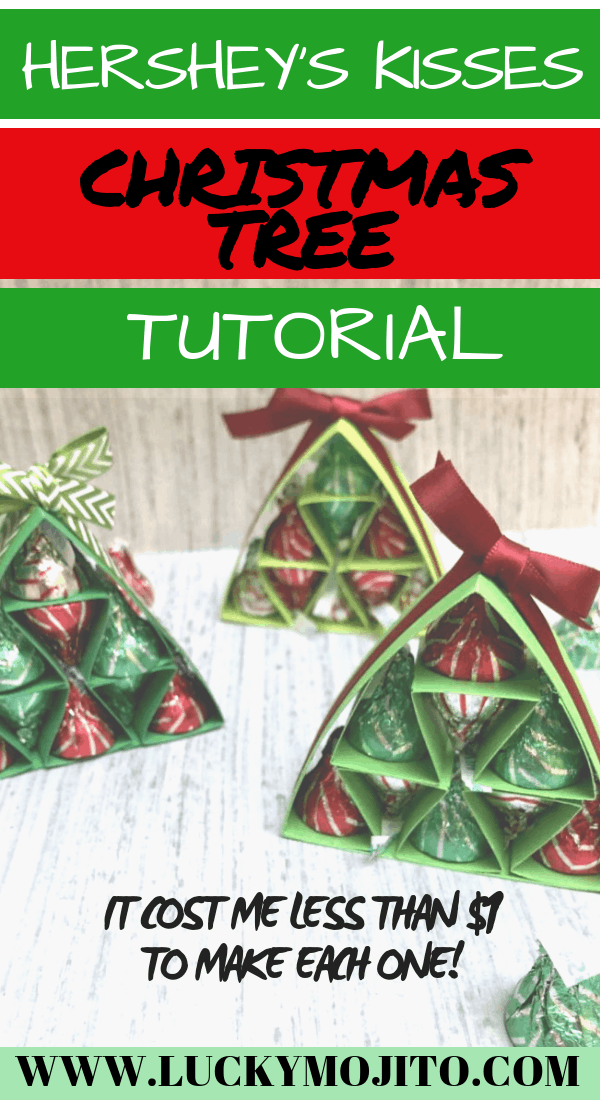
HERSHEY KISSES CHRISTMAS TREE TUTORIAL
Table of Contents
I was scrolling on Pinterest as usual, when I saw these Hershey Kisses Christmas Trees from Qbee’s Quest and knew I wanted to HAD to make them.
I am crafty by nature, but with all the blogging I’ve been doing lately I haven’t had time for much else.
{This post may contain affiliate links, which means that I may receive a commission if you make a purchase using these links.}
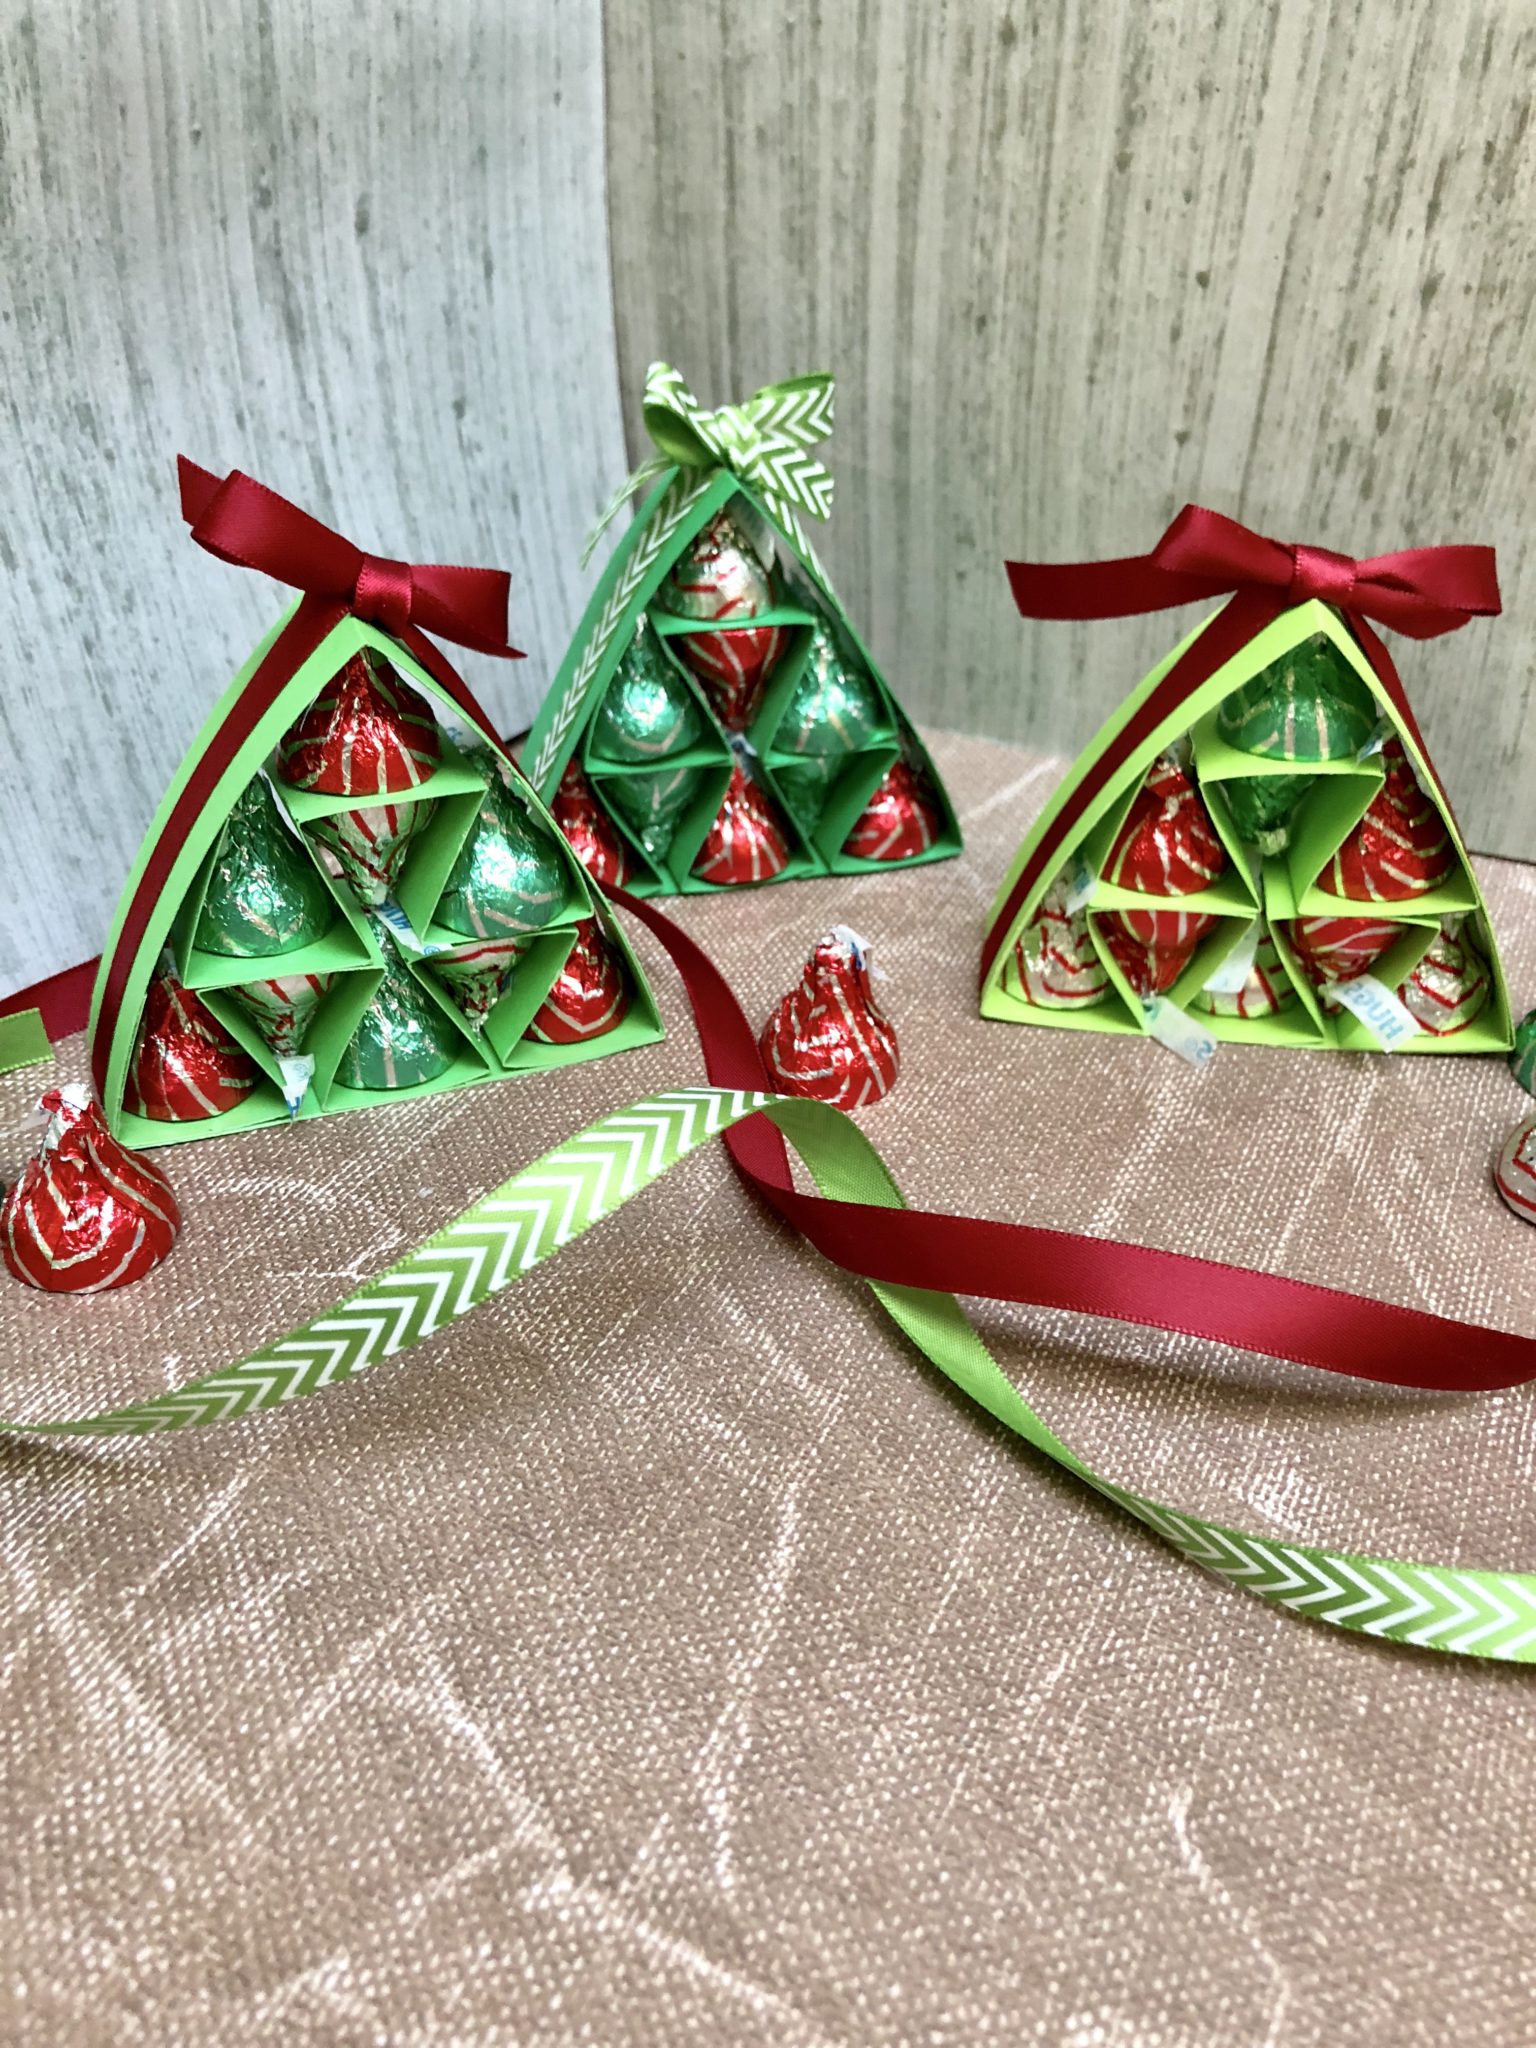
These Hershey Kisses Christmas trees are perfect for everyone (especially if you’re on a budget).
They cost me less than $0.29 a piece to make!!!
You can make them for your neighbors, mailman, friends, etc. They are cute on their own or make a great accompaniment to a gift card or any other gift. I mean who doesn’t love chocolate?
I’m going to make them for my coworkers, daughter’s class, and teachers.
Related post: Gift bag ideas for every occasion
Qbee’s Hershey Kisses Christmas tree tutorial was very easy to follow. The tutorial has lots of pictures and even has a video, but after I made my first tree I found that all 9 of my Hershey Kisses didn’t fit. The top triangle part was way too small.
Well that wasn’t going to stop me from making my whole Hershey Kisses Christmas Tree forest!
I revamped a few measurements for the outer triangle and completely got rid of the small top triangle so it’s just 3 pieces (2 of which are the exact same size for less cutting).
HERSHEY KISSES CHRISTMAS TREE TUTORIAL SUPPLIES
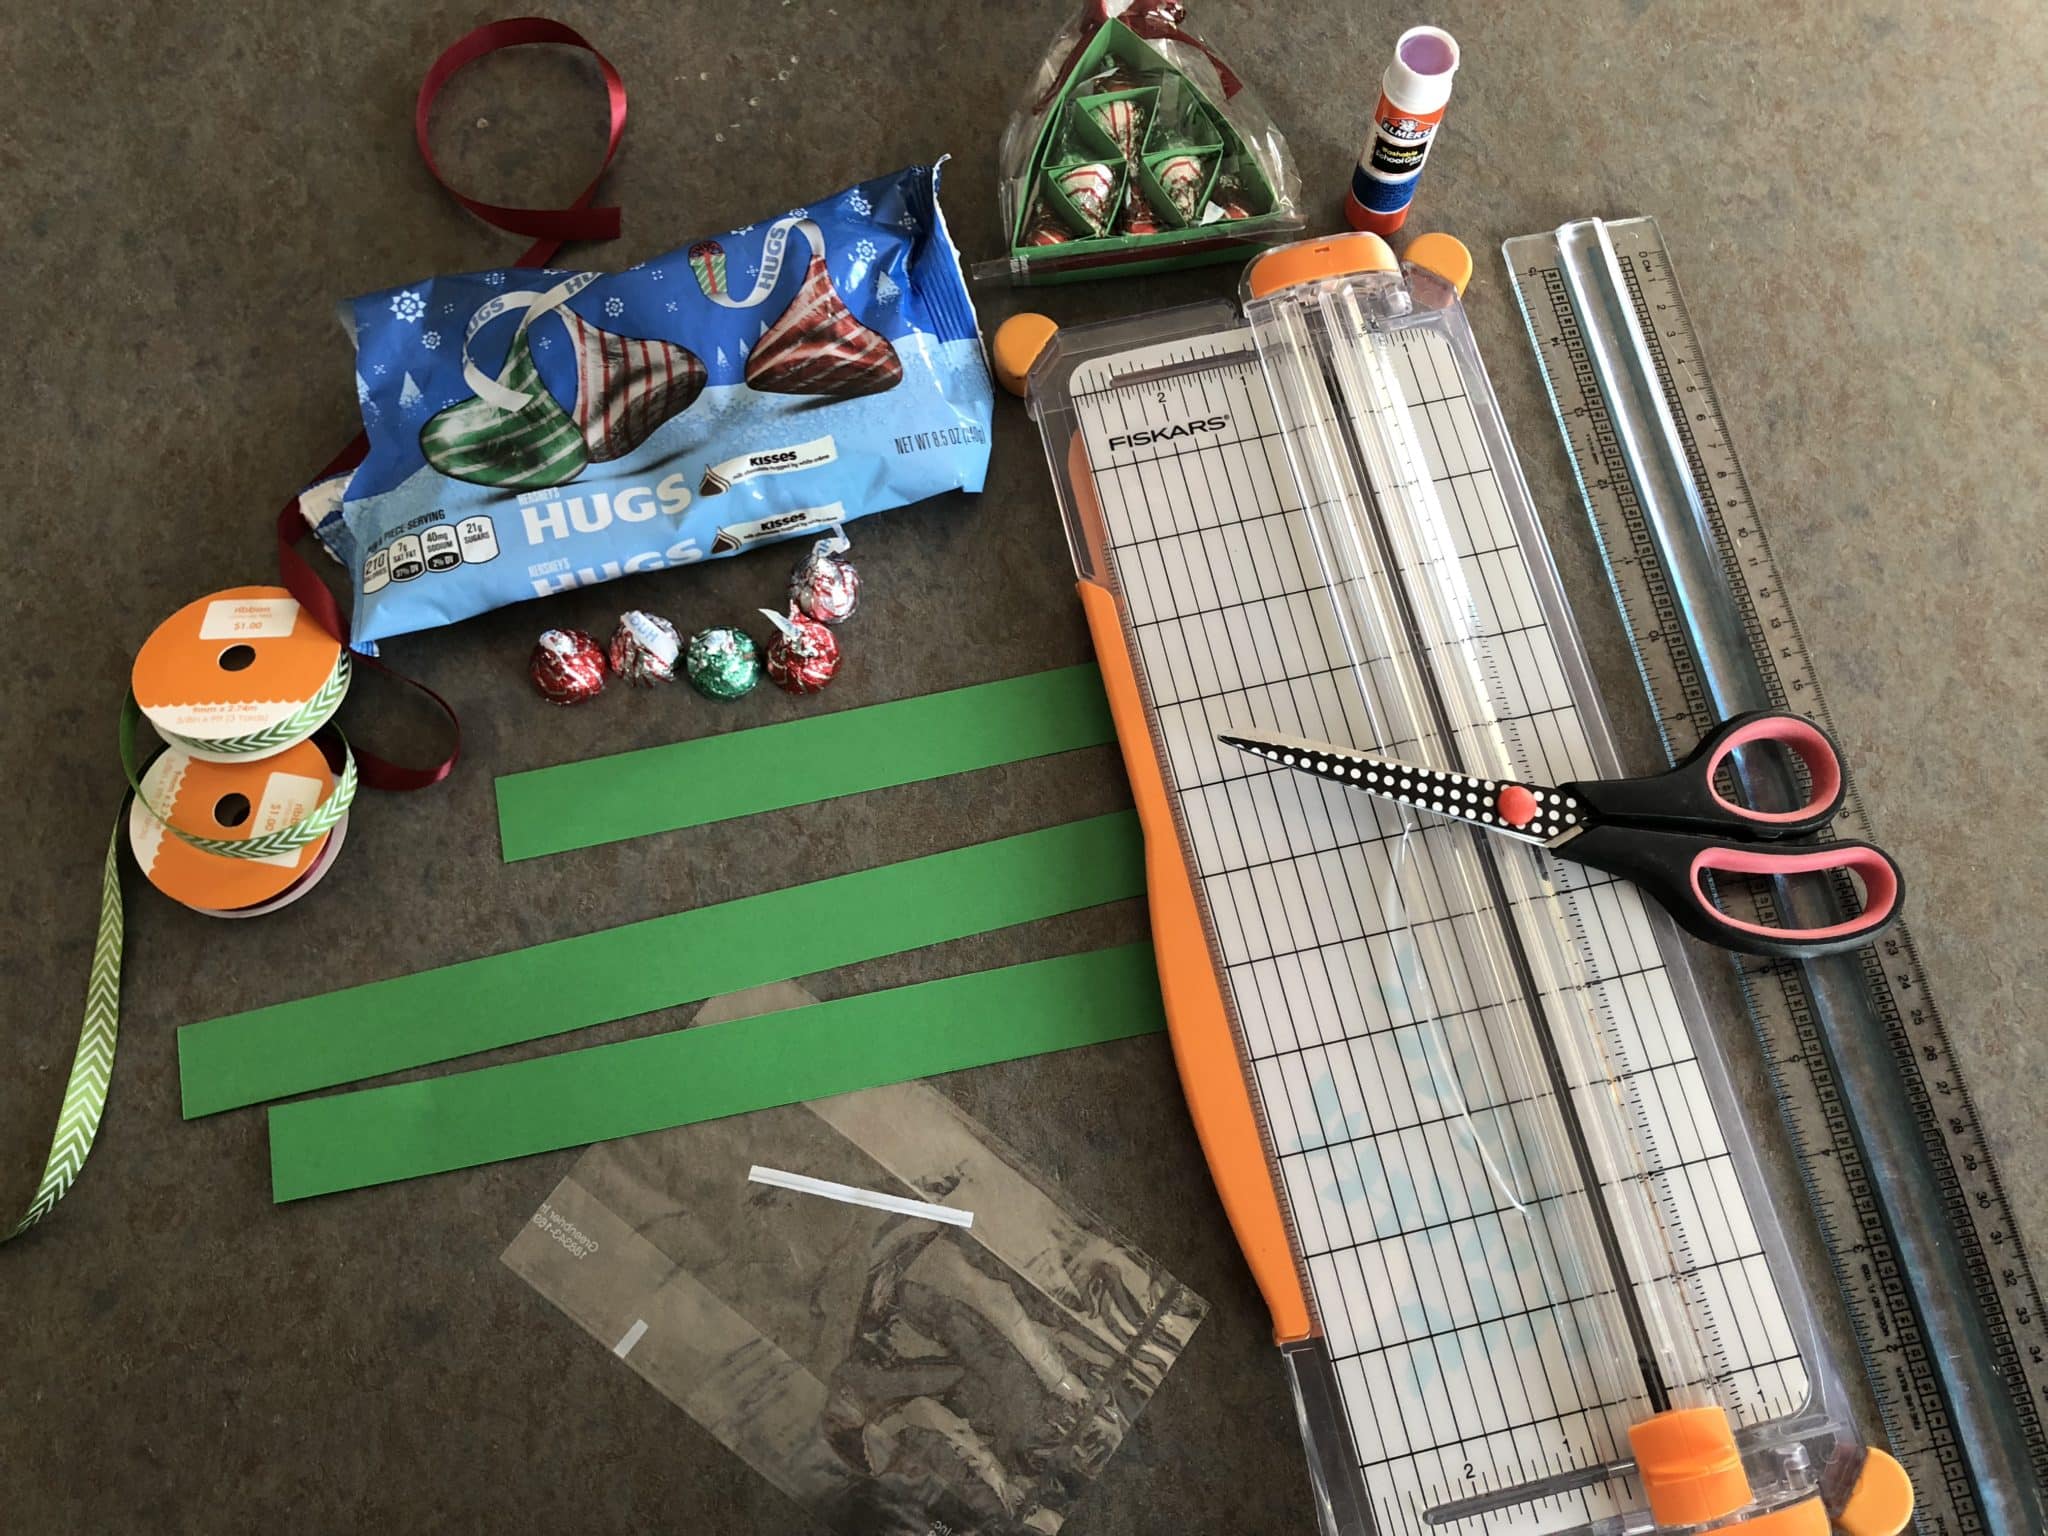
I had the majority of what I needed to make the Hershey Kisses Christmas trees at home. Yay not spending money!
You will need:
11″ by 8.5″ cardstock (I bought a pack that included 3 different shades of green from Michael’s using a 50% off coupon from AC Moore because they accept competitors’ coupons)
Ruler
Paper cutter/Exacto knife/scissors
Scoring board (optional)
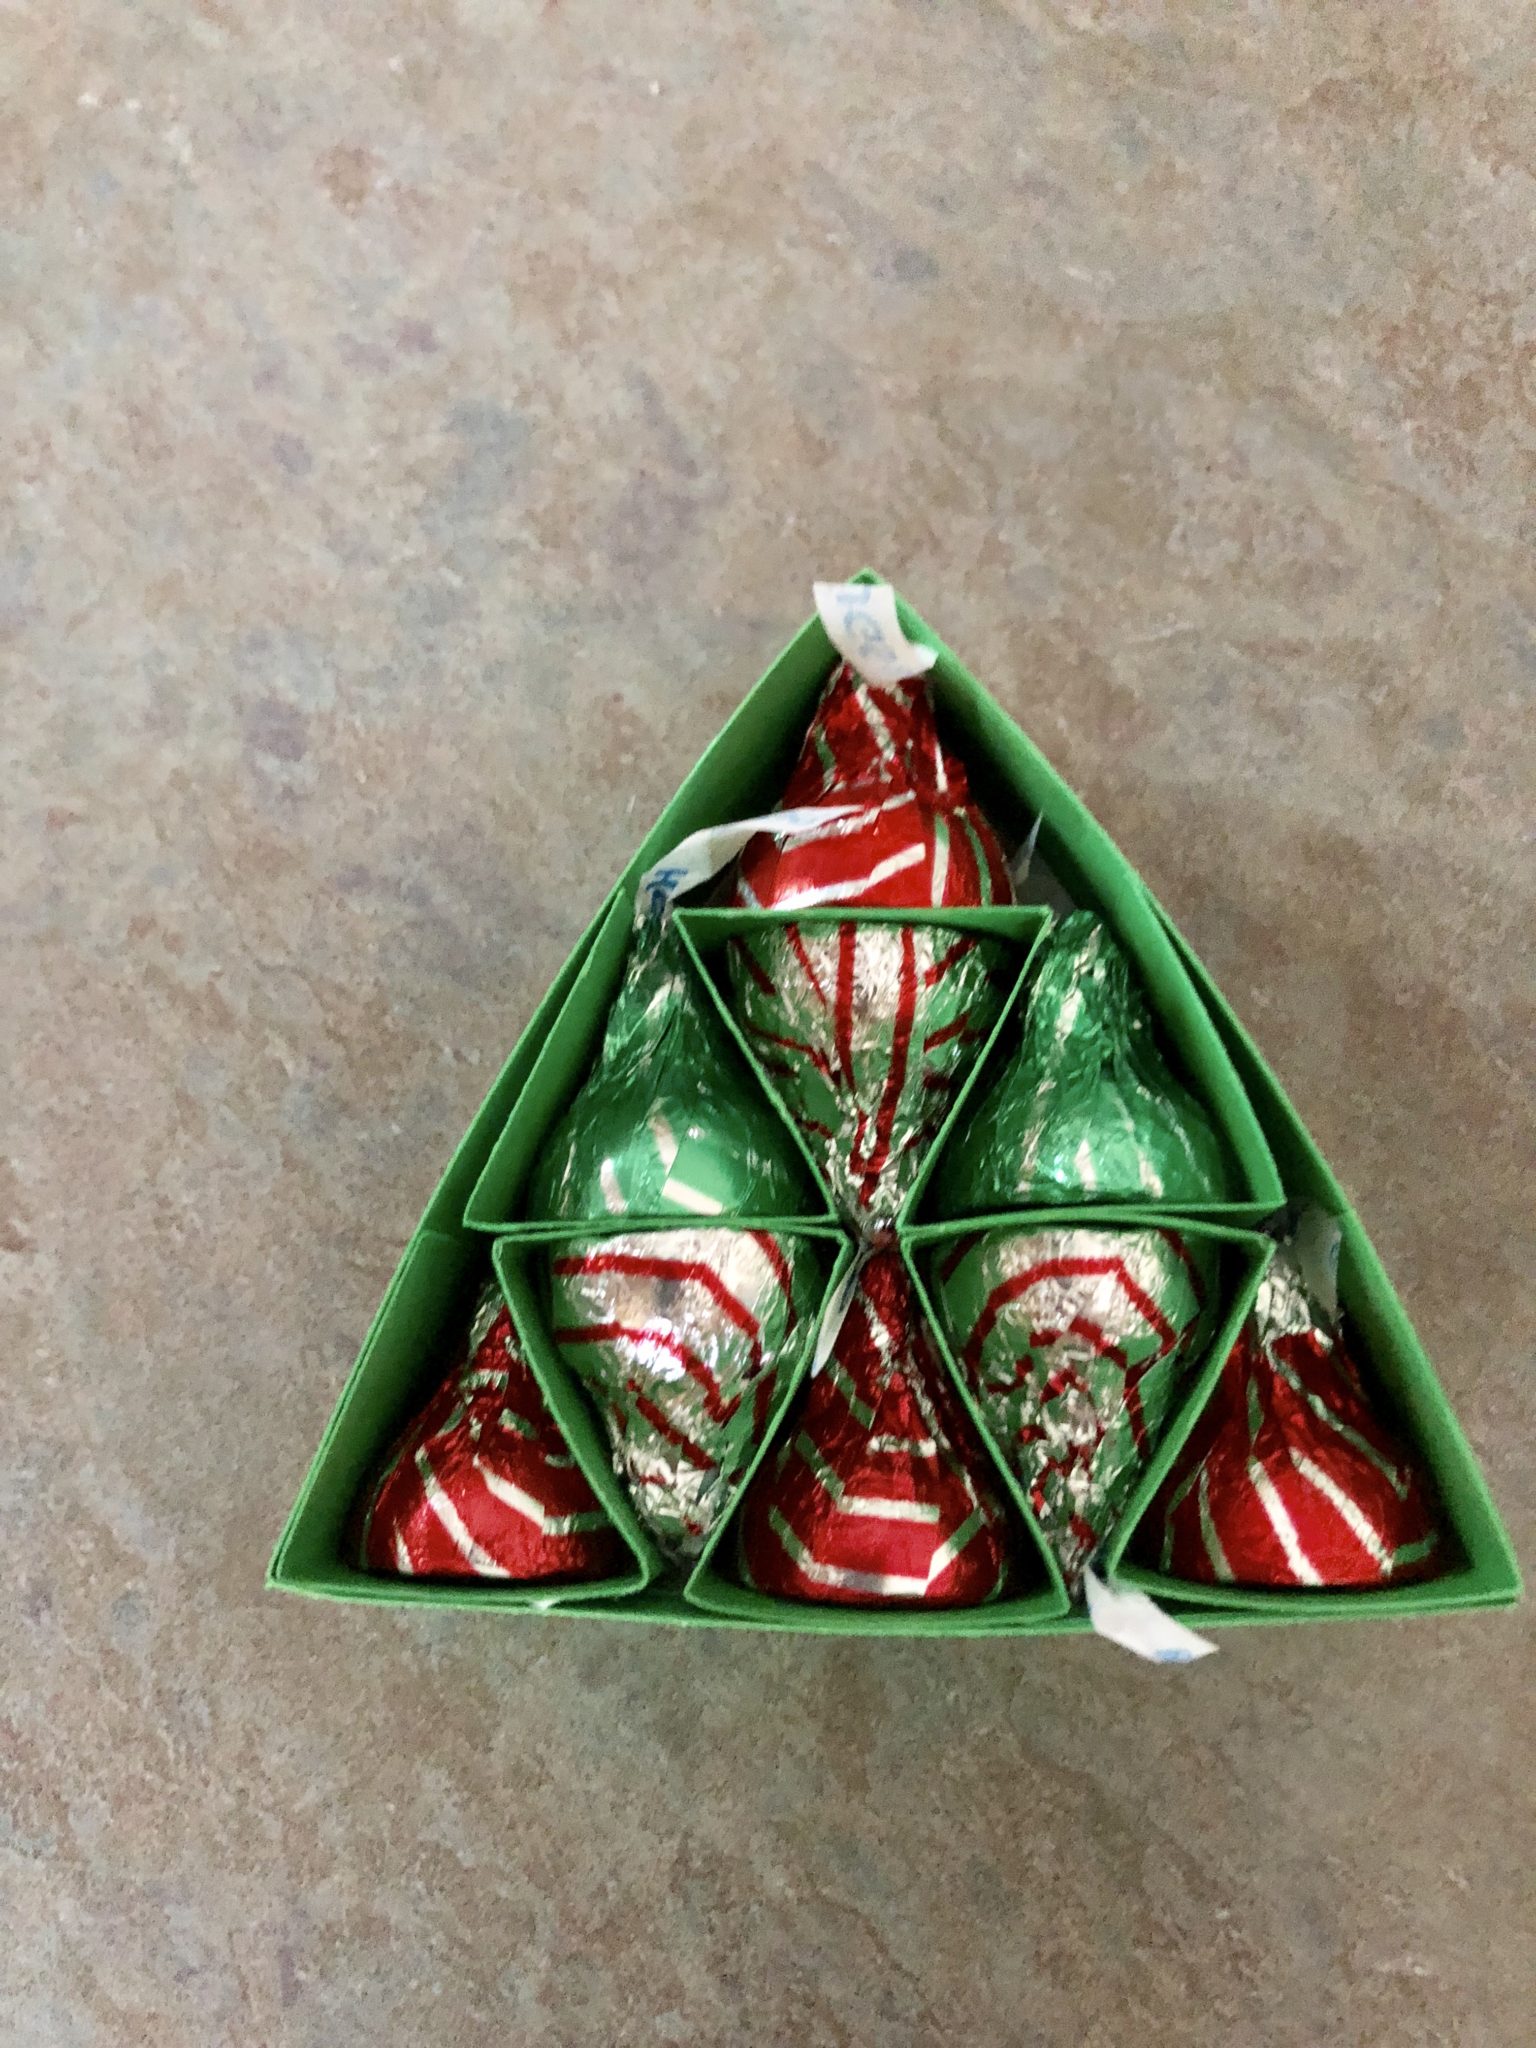
Hershey Kisses (9 kisses per tree)
Ribbon
Cellophane treat bags (bought from the Dollar Store)
Glue
HERSHEY KISSES CHRISTMAS TREE TUTORIAL STEP-BY-STEP
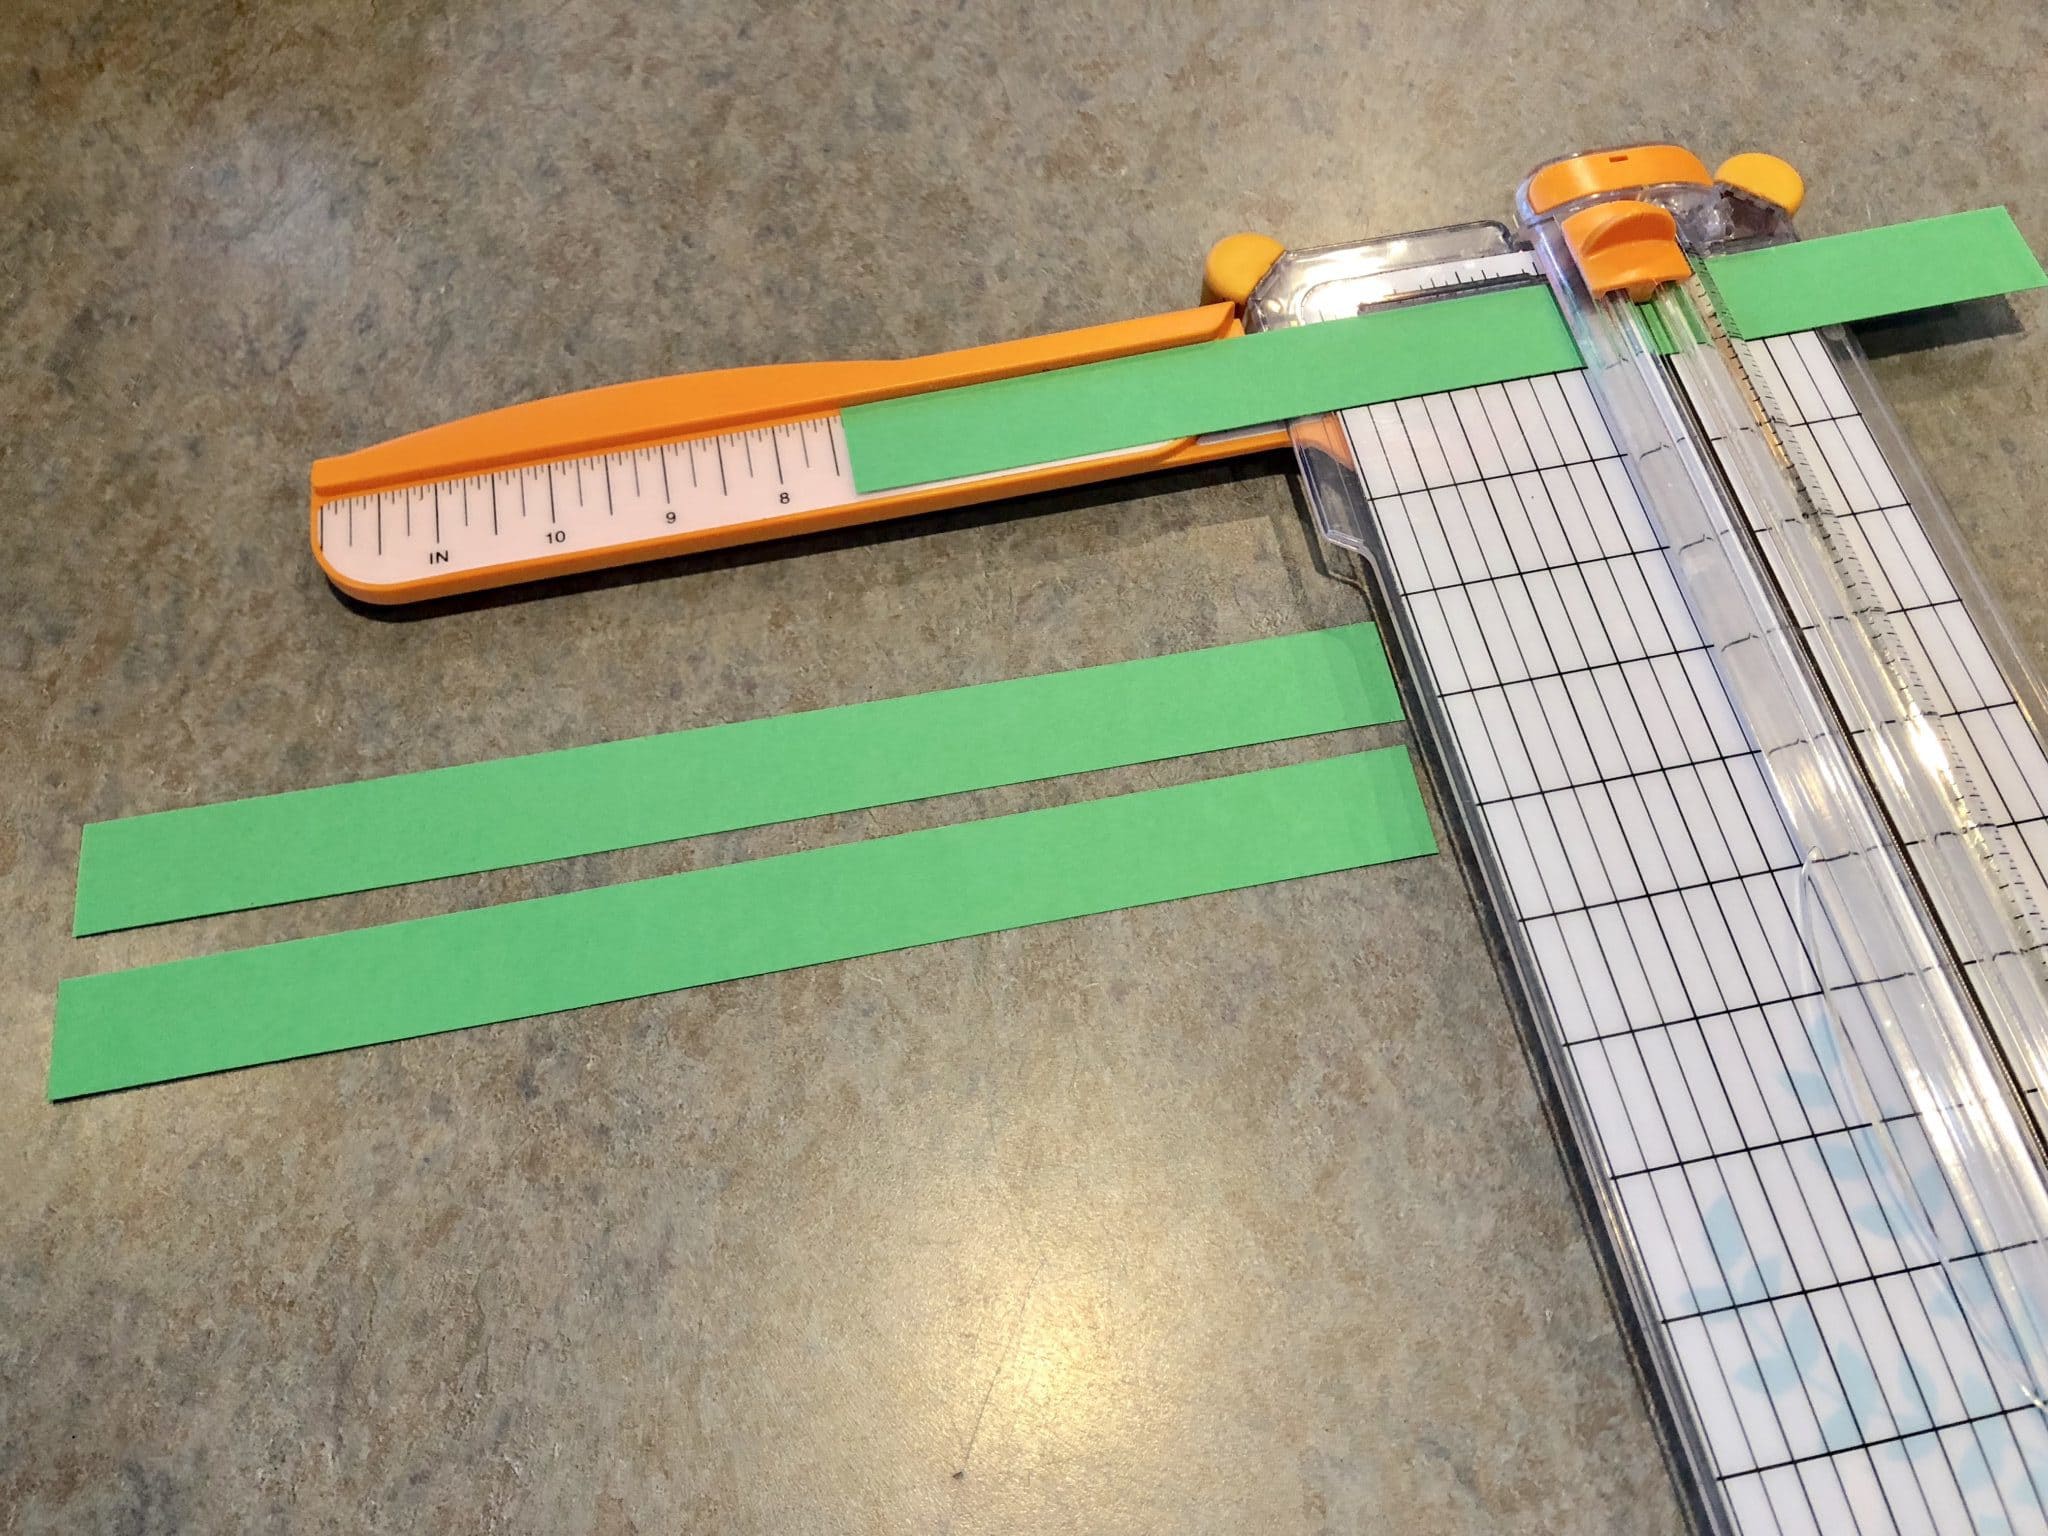
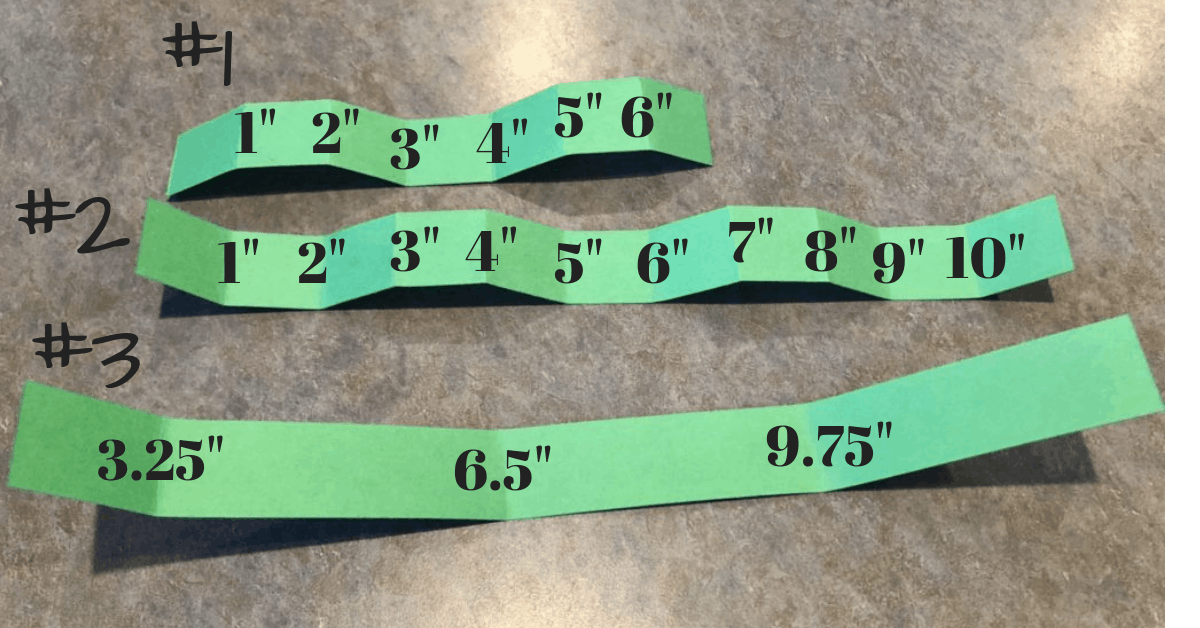
First, cut out one piece of cardstock that is 7″ by 1″.
Then cut out 2 pieces that are 11″ by 1″. I used my Fiskars paper cutter, which saved me a lot of time, but a ruler and scissors will do just fine.

Time to score the pieces.
Scoring: It means to create a cut or scratch on a surface. What this does is give you a sharp crease and makes the cardstock easier to fold.
You can use a scoring board if you have one. I just placed a ruler along where I wanted to score my cardstock and very gently dragged my scissors along the edge.

On piece #1 (7″ by 1″) score at every inch mark.
On piece #2 (11″ by 1″) score at every inch mark.
On piece #3 (11″ by 1″) score at the 3 1/4″, 6 1/2″, and 9 3/4″ marks.
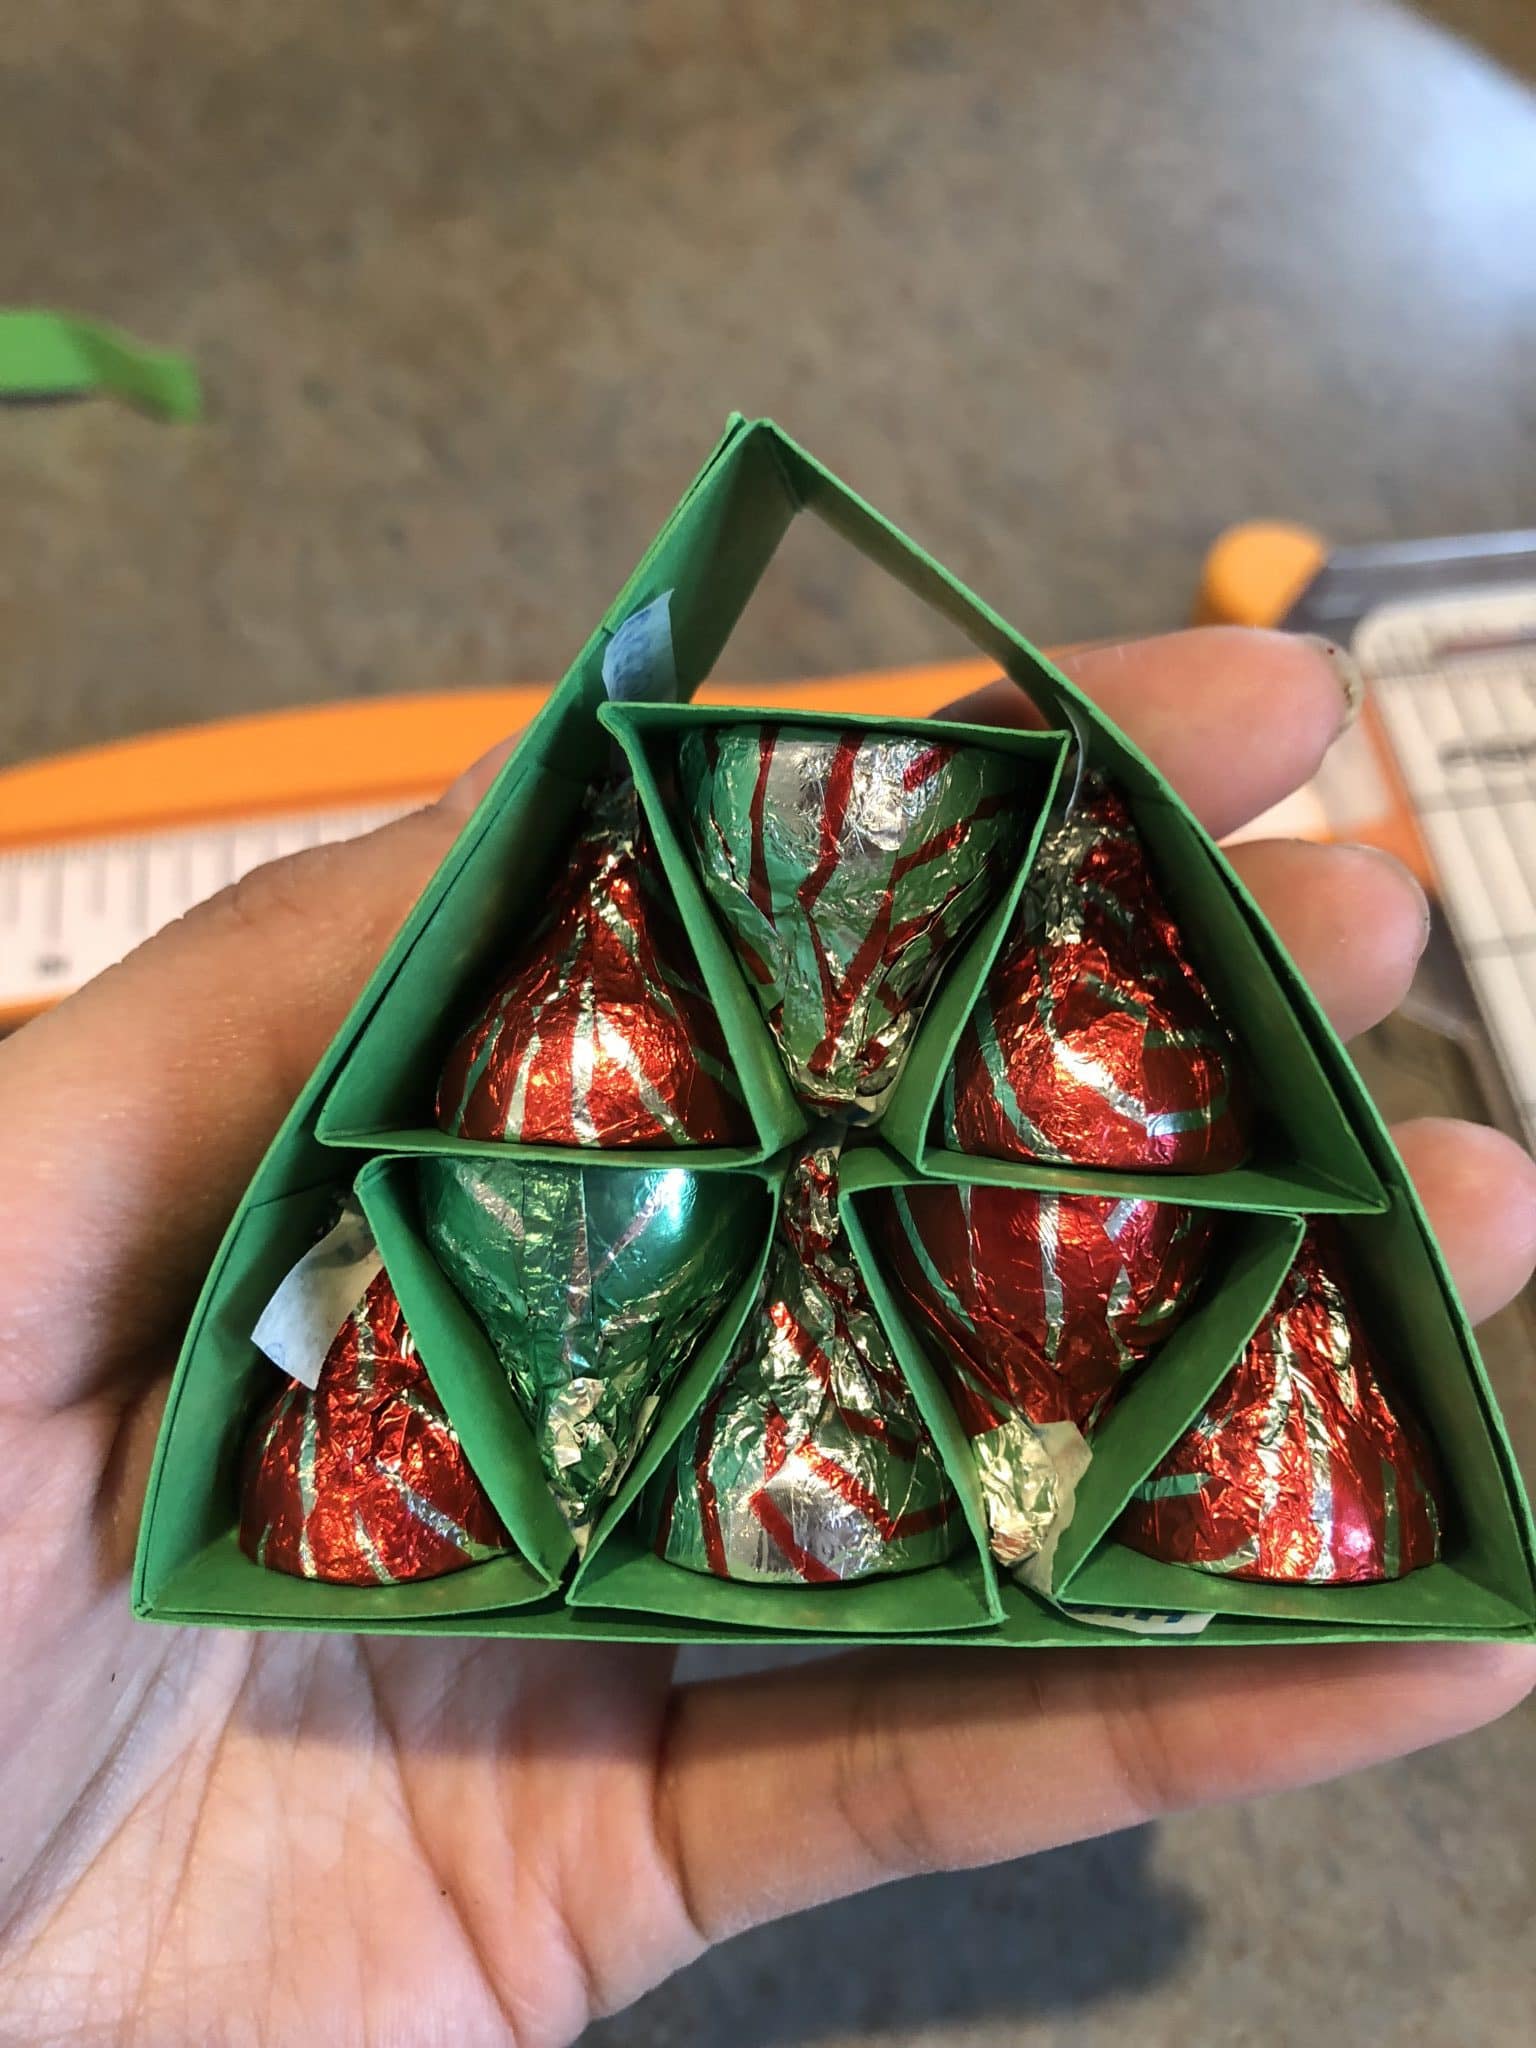
Time to put together your Hershey Kiss Christmas tree.
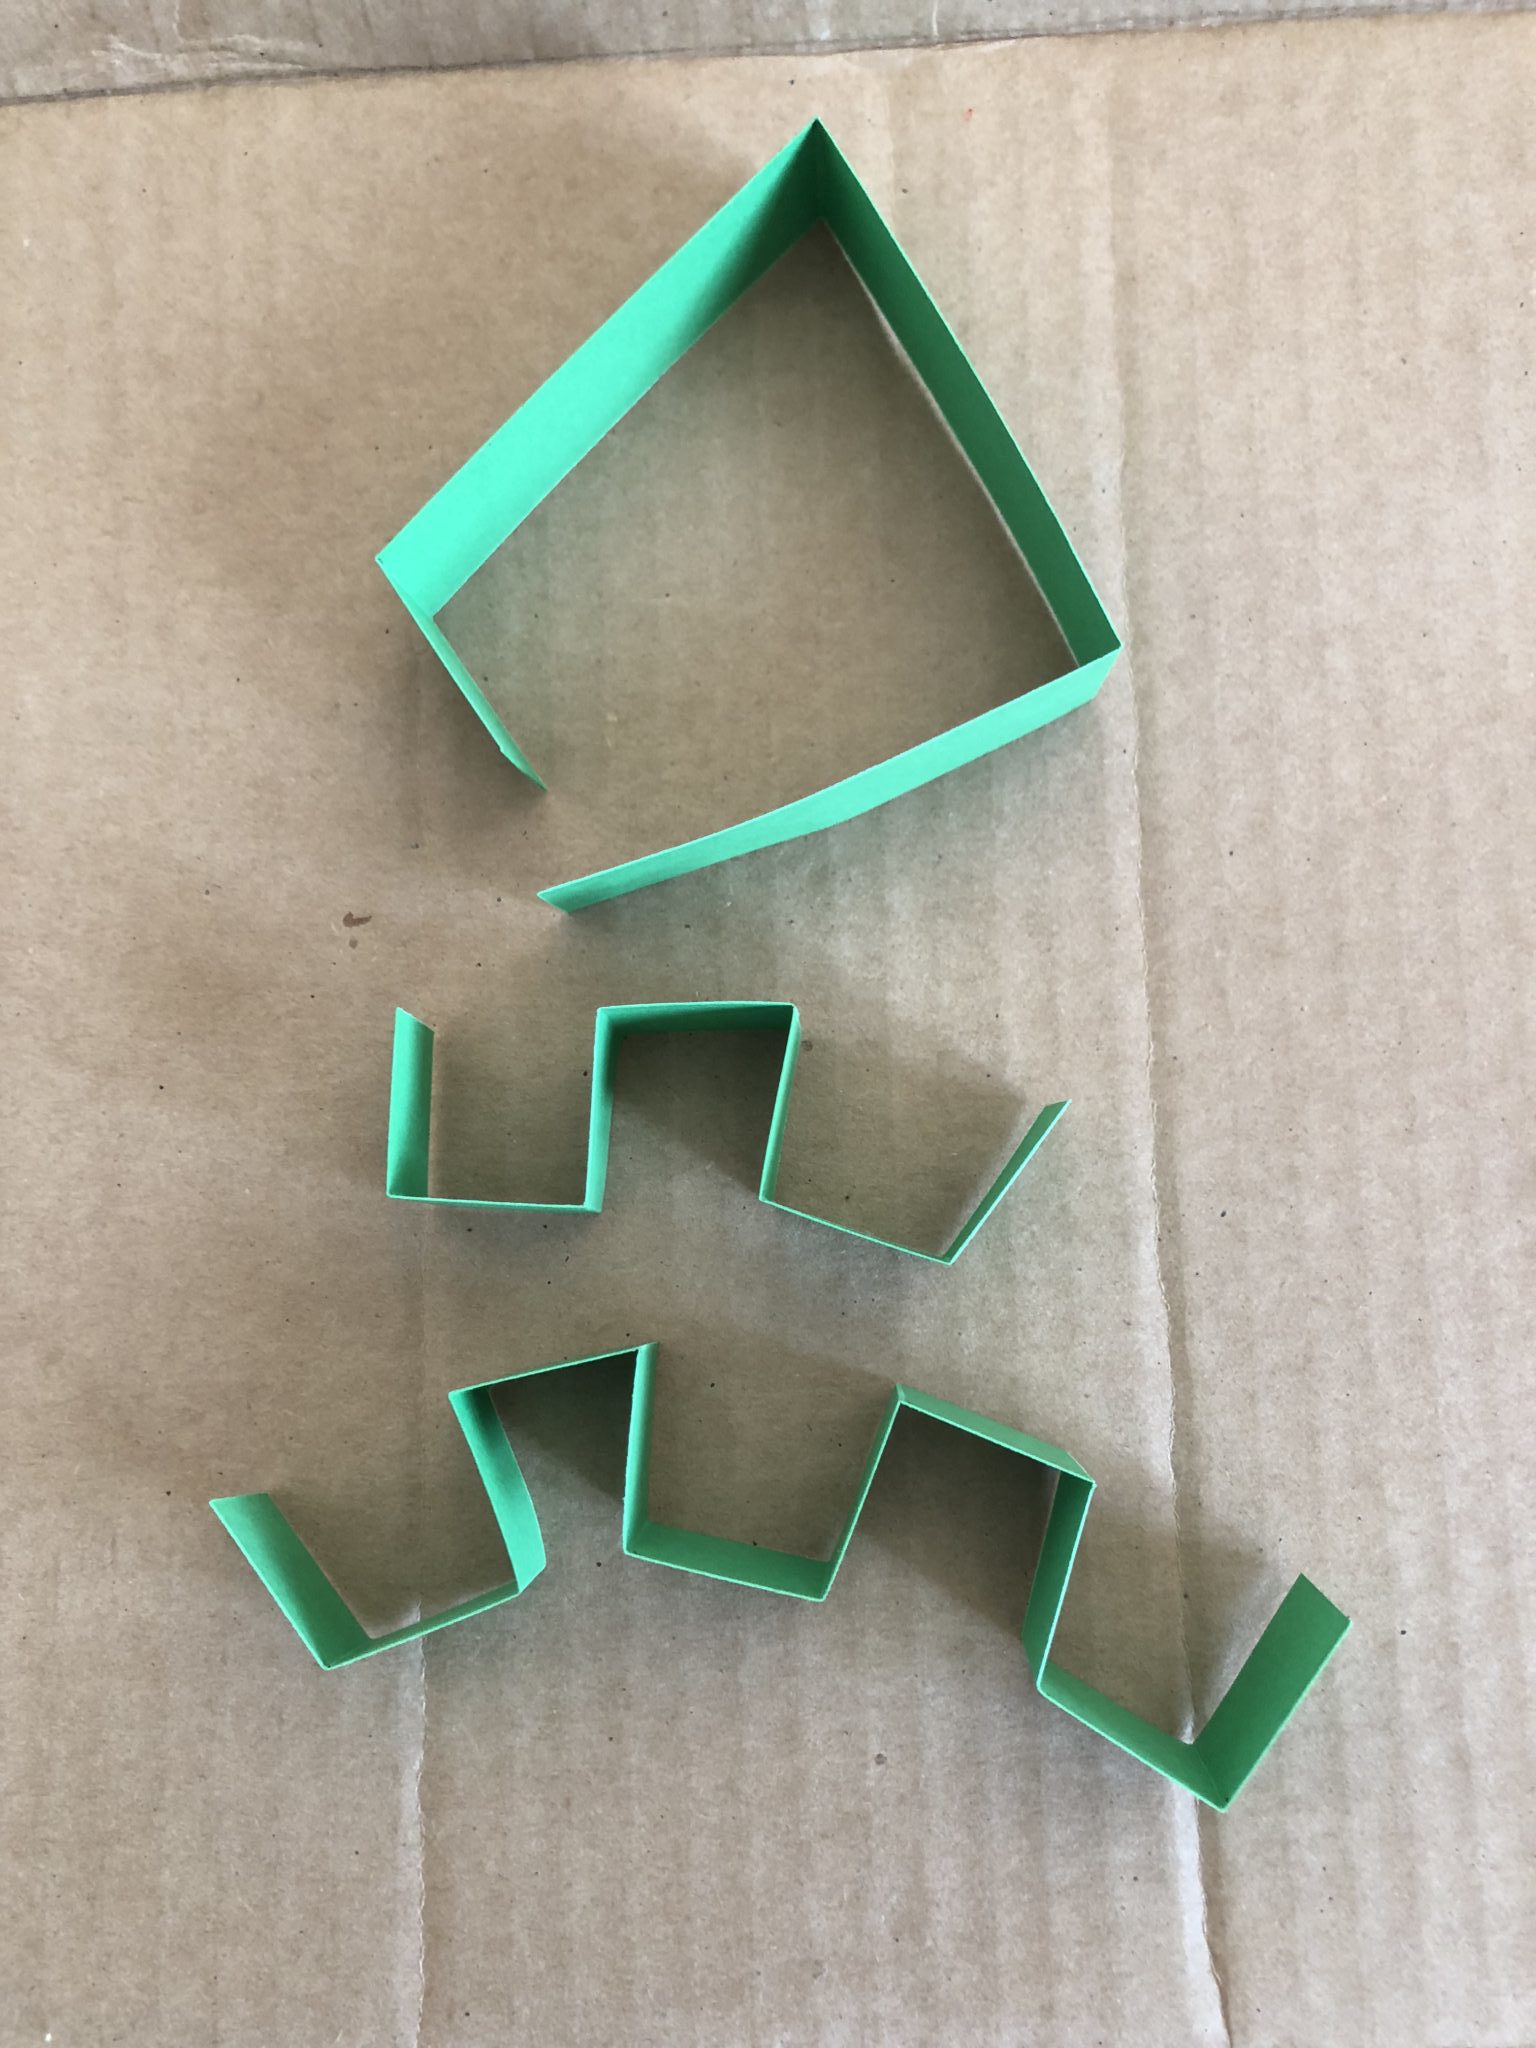
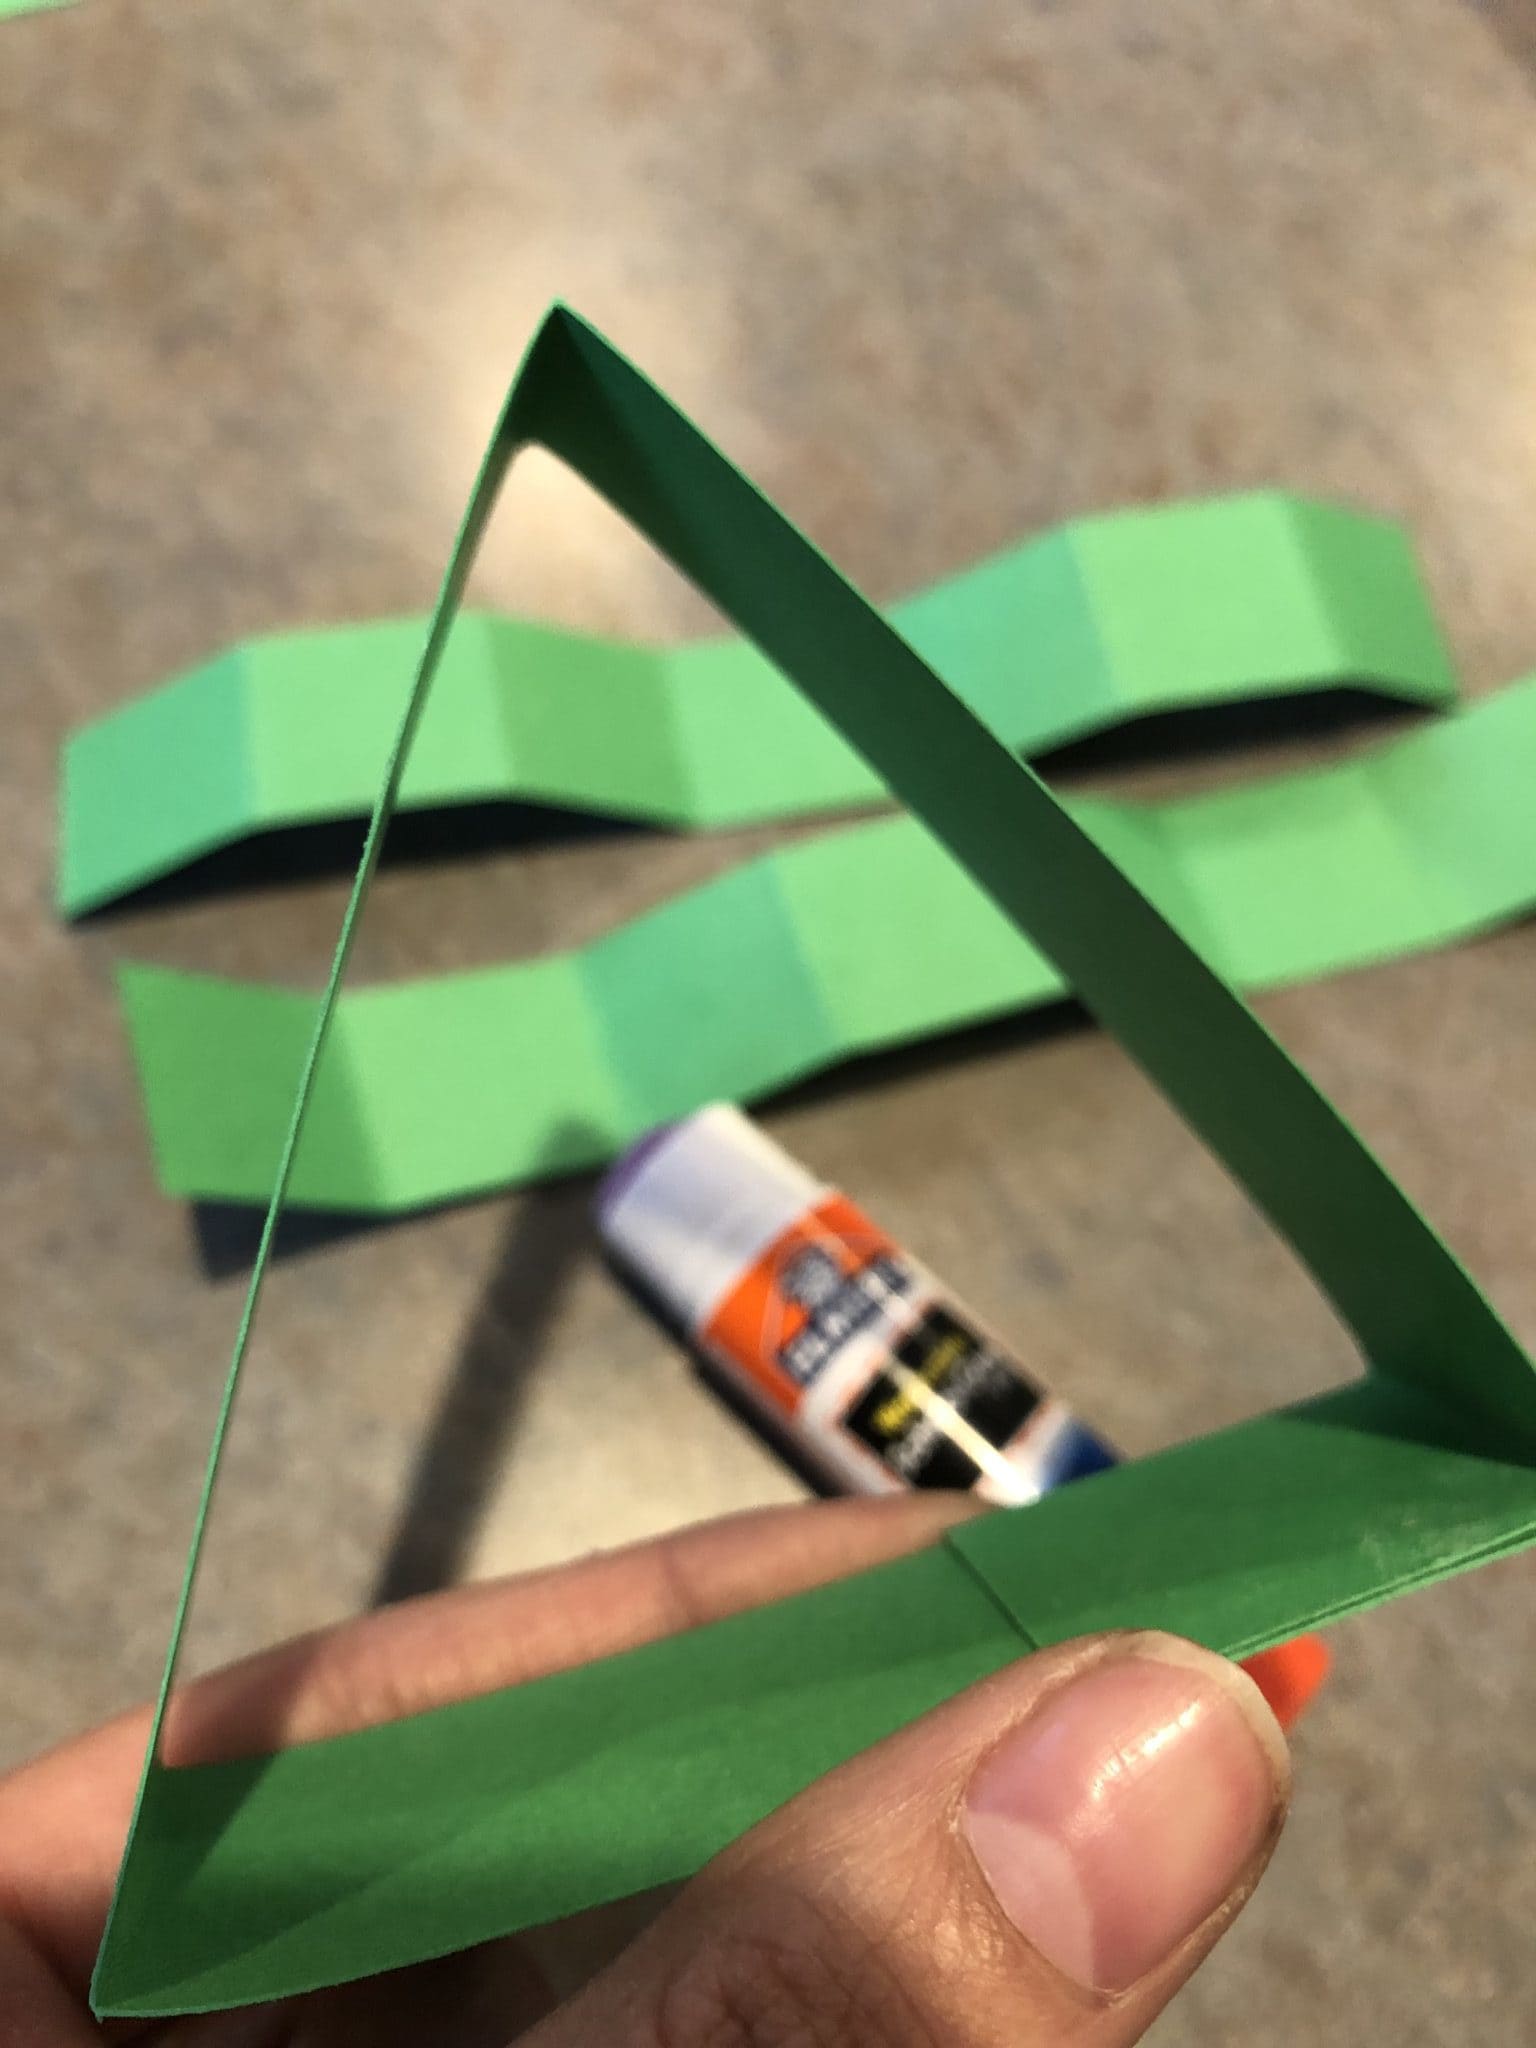
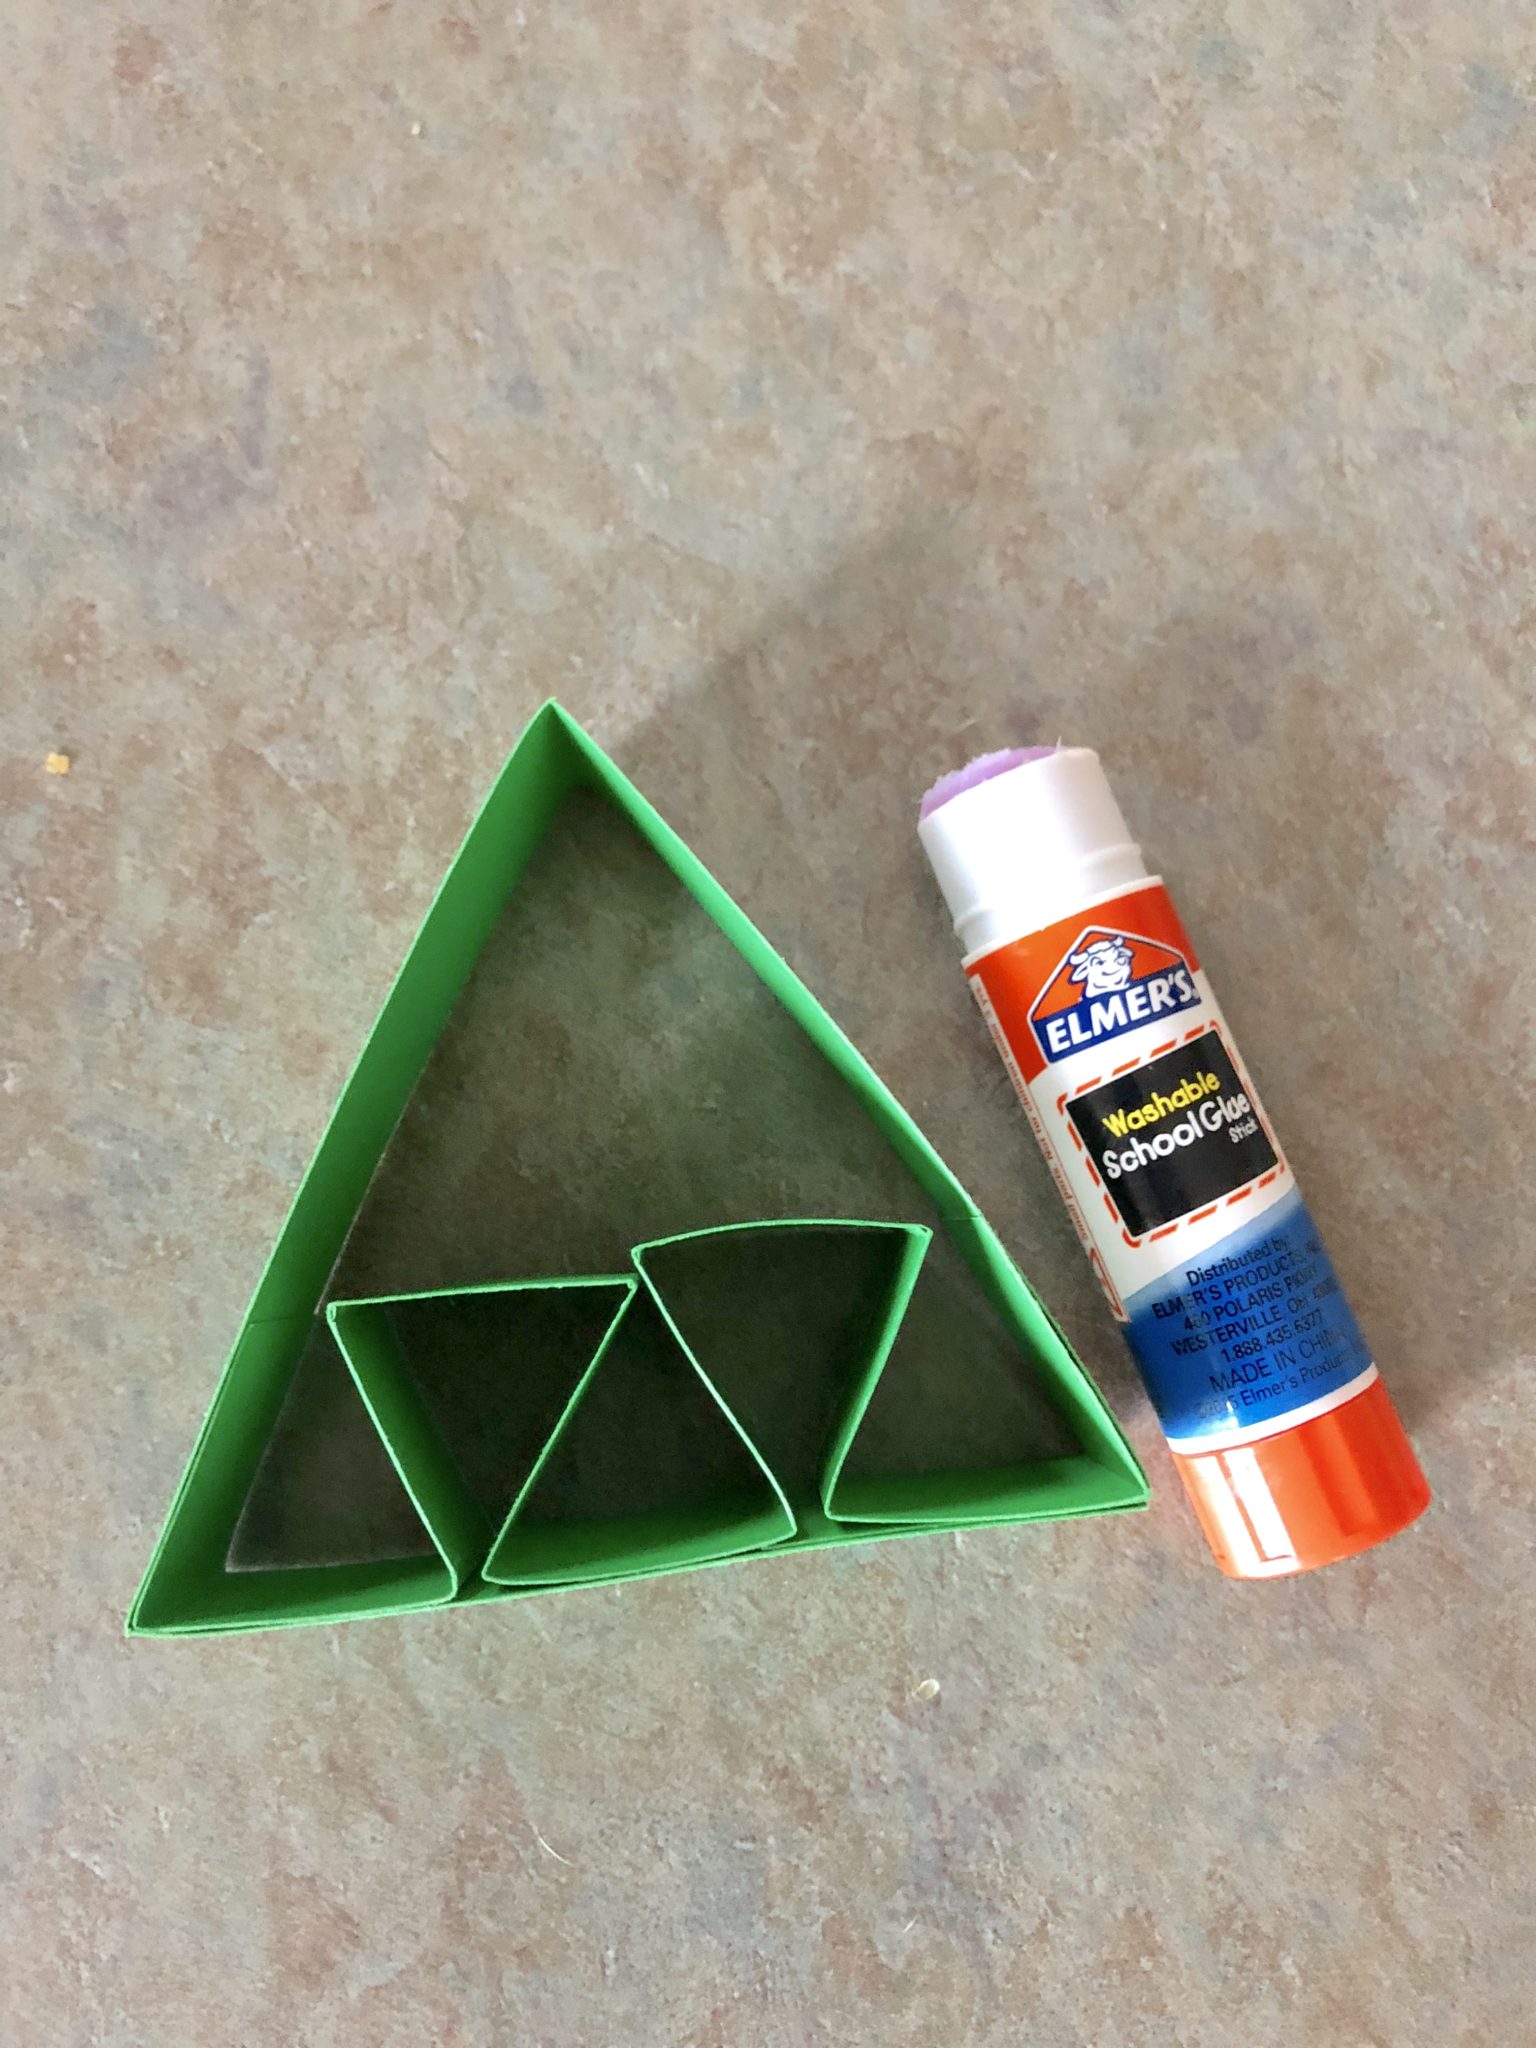
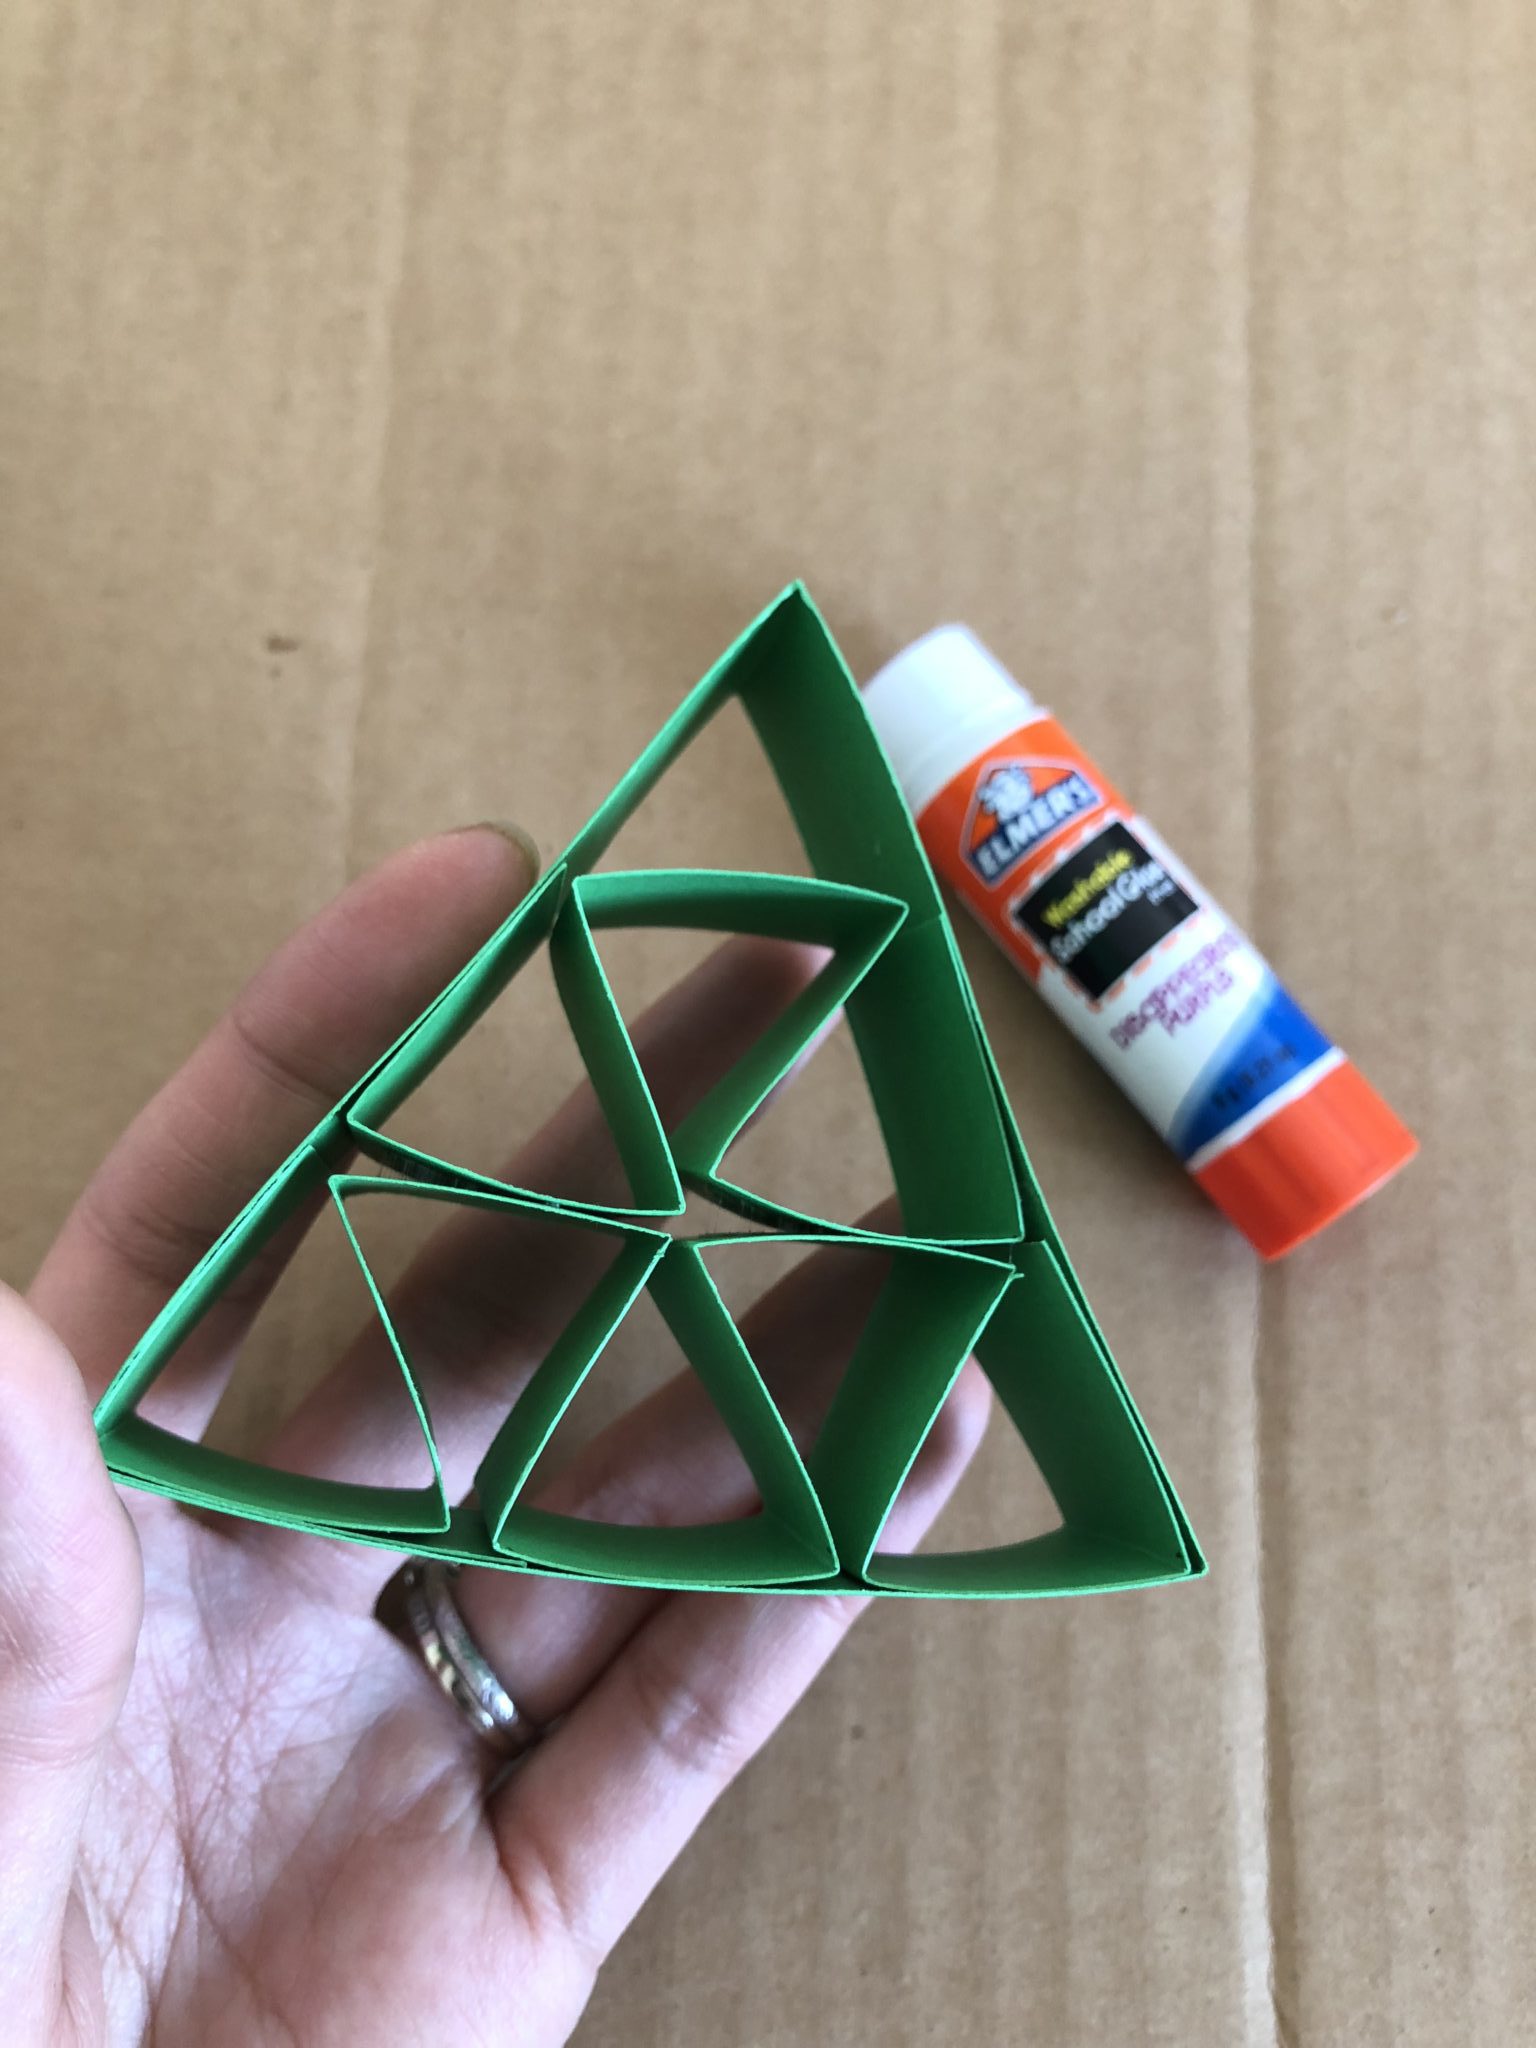
Fold piece #3 into a large triangle. Next, glue the small piece into the inside of the triangle for a cleaner look.
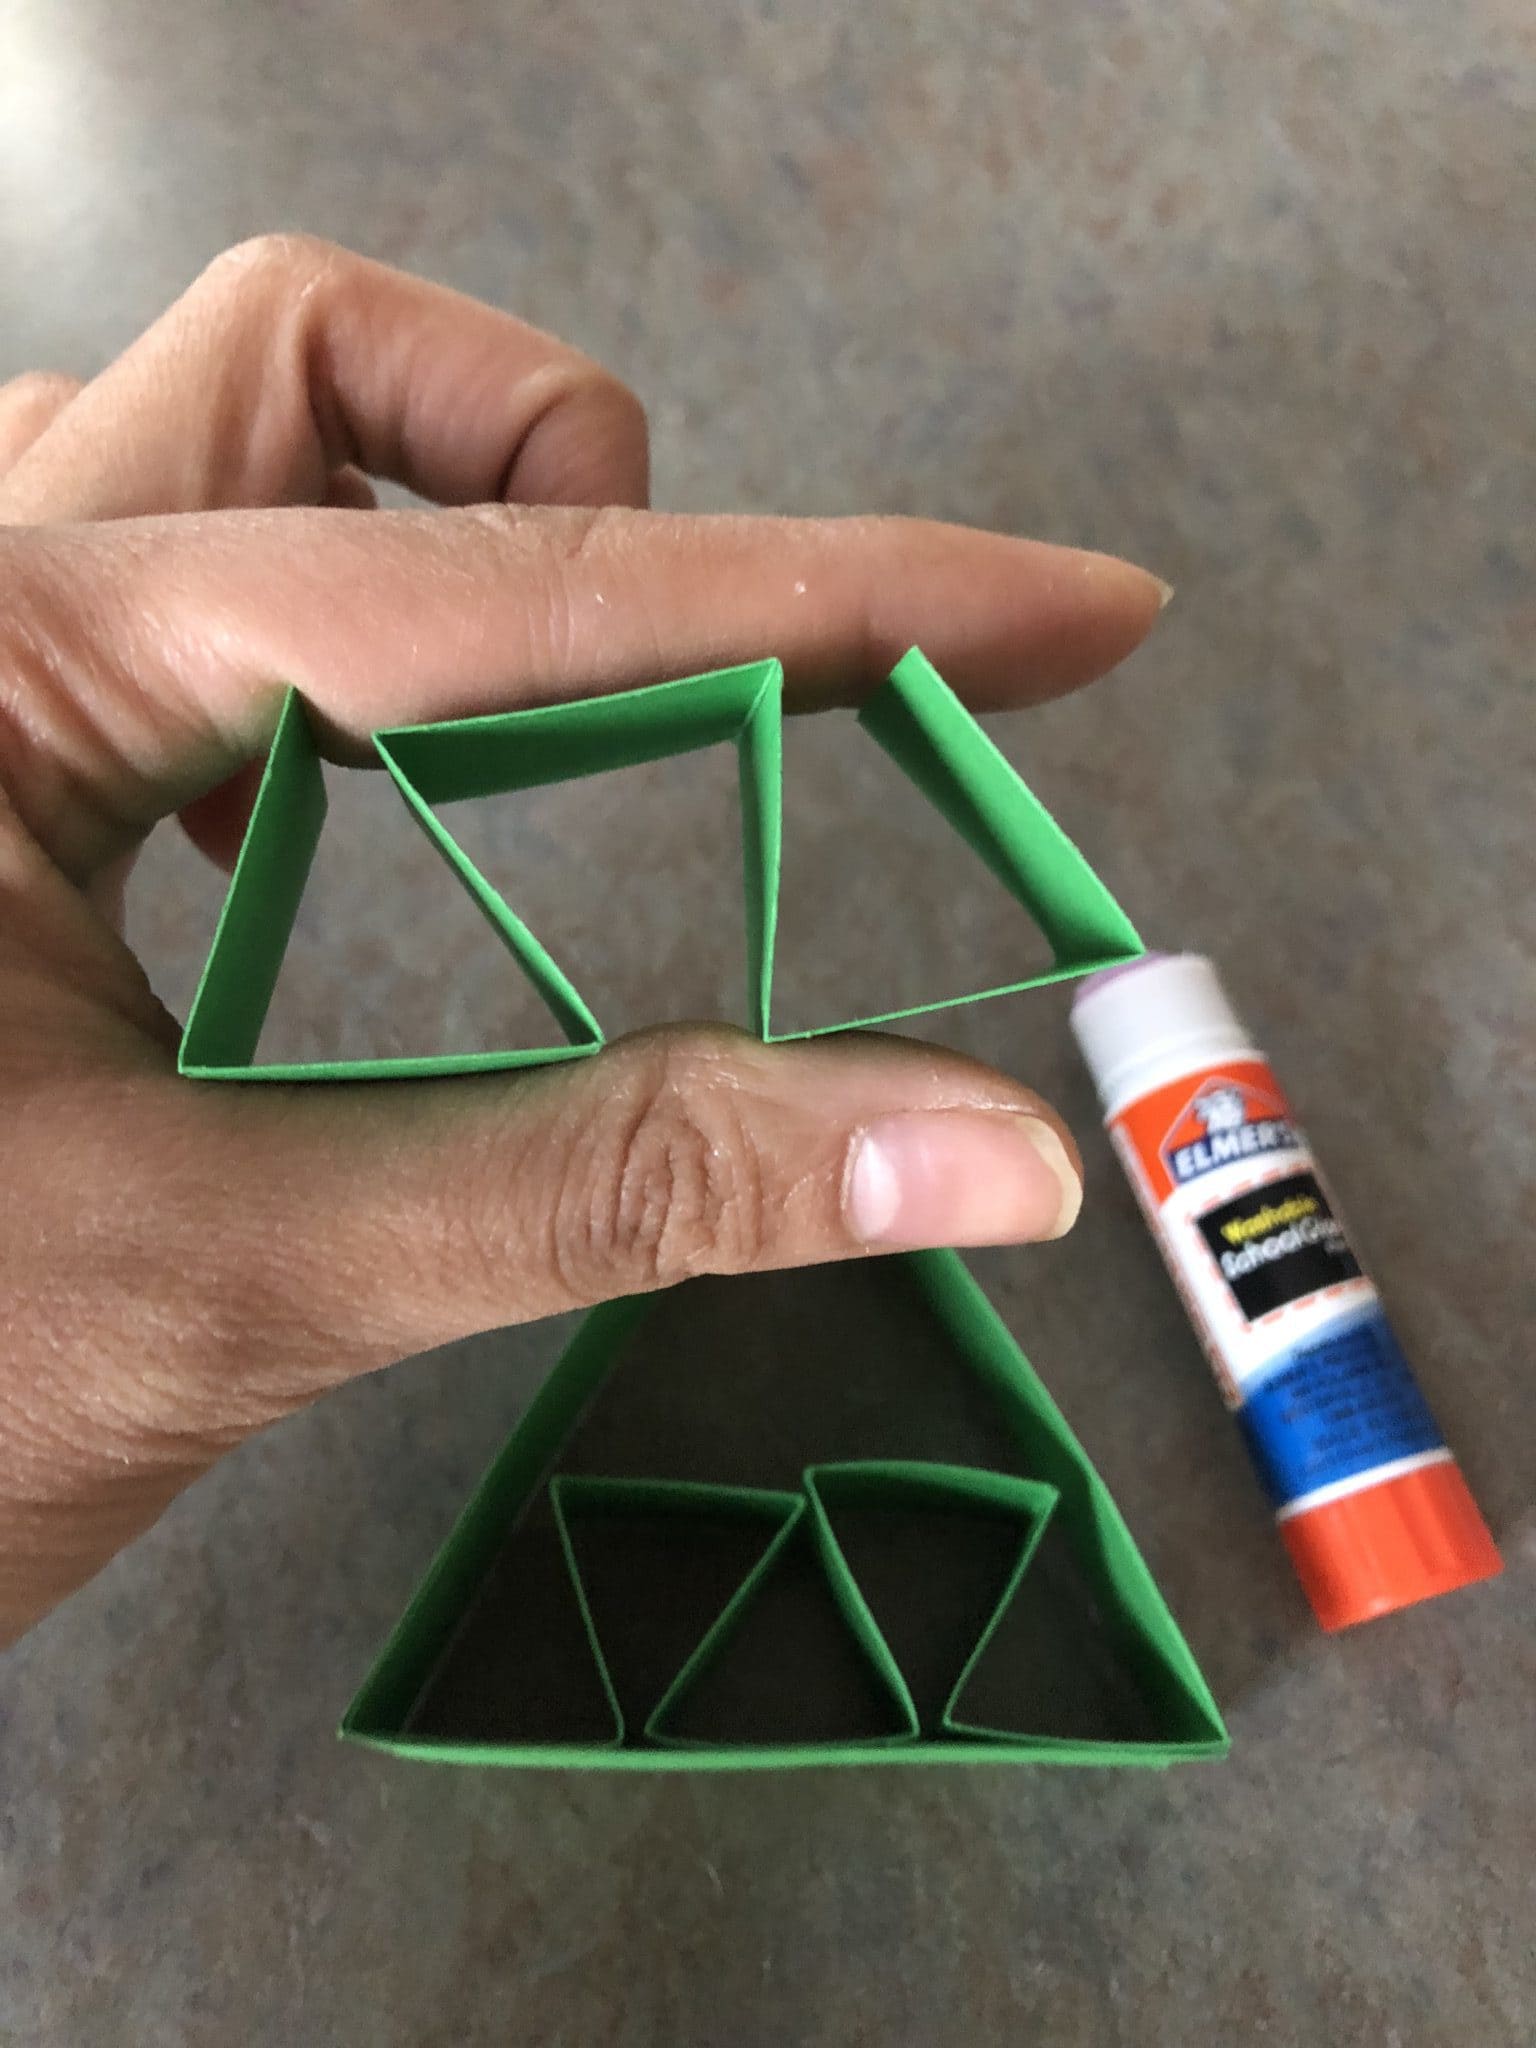
Fold pieces #1 and #2 to form small triangles, like an accordion. Glue piece #2 into the bottom of your big triangle and then glue piece #1 on top of piece #2 inside the large triangle to finish off your Christmas tree.
The Hershey Kisses fit nicely into the Christmas tree so you don’t necessarily have to glue pieces #1 and #2 down if you don’t want to, but I found it held together better when tying my ribbon.
FINISHING TOUCHES
Now cut a piece of ribbon about 18″ and wrap around your tree and tie into a beautiful bow.
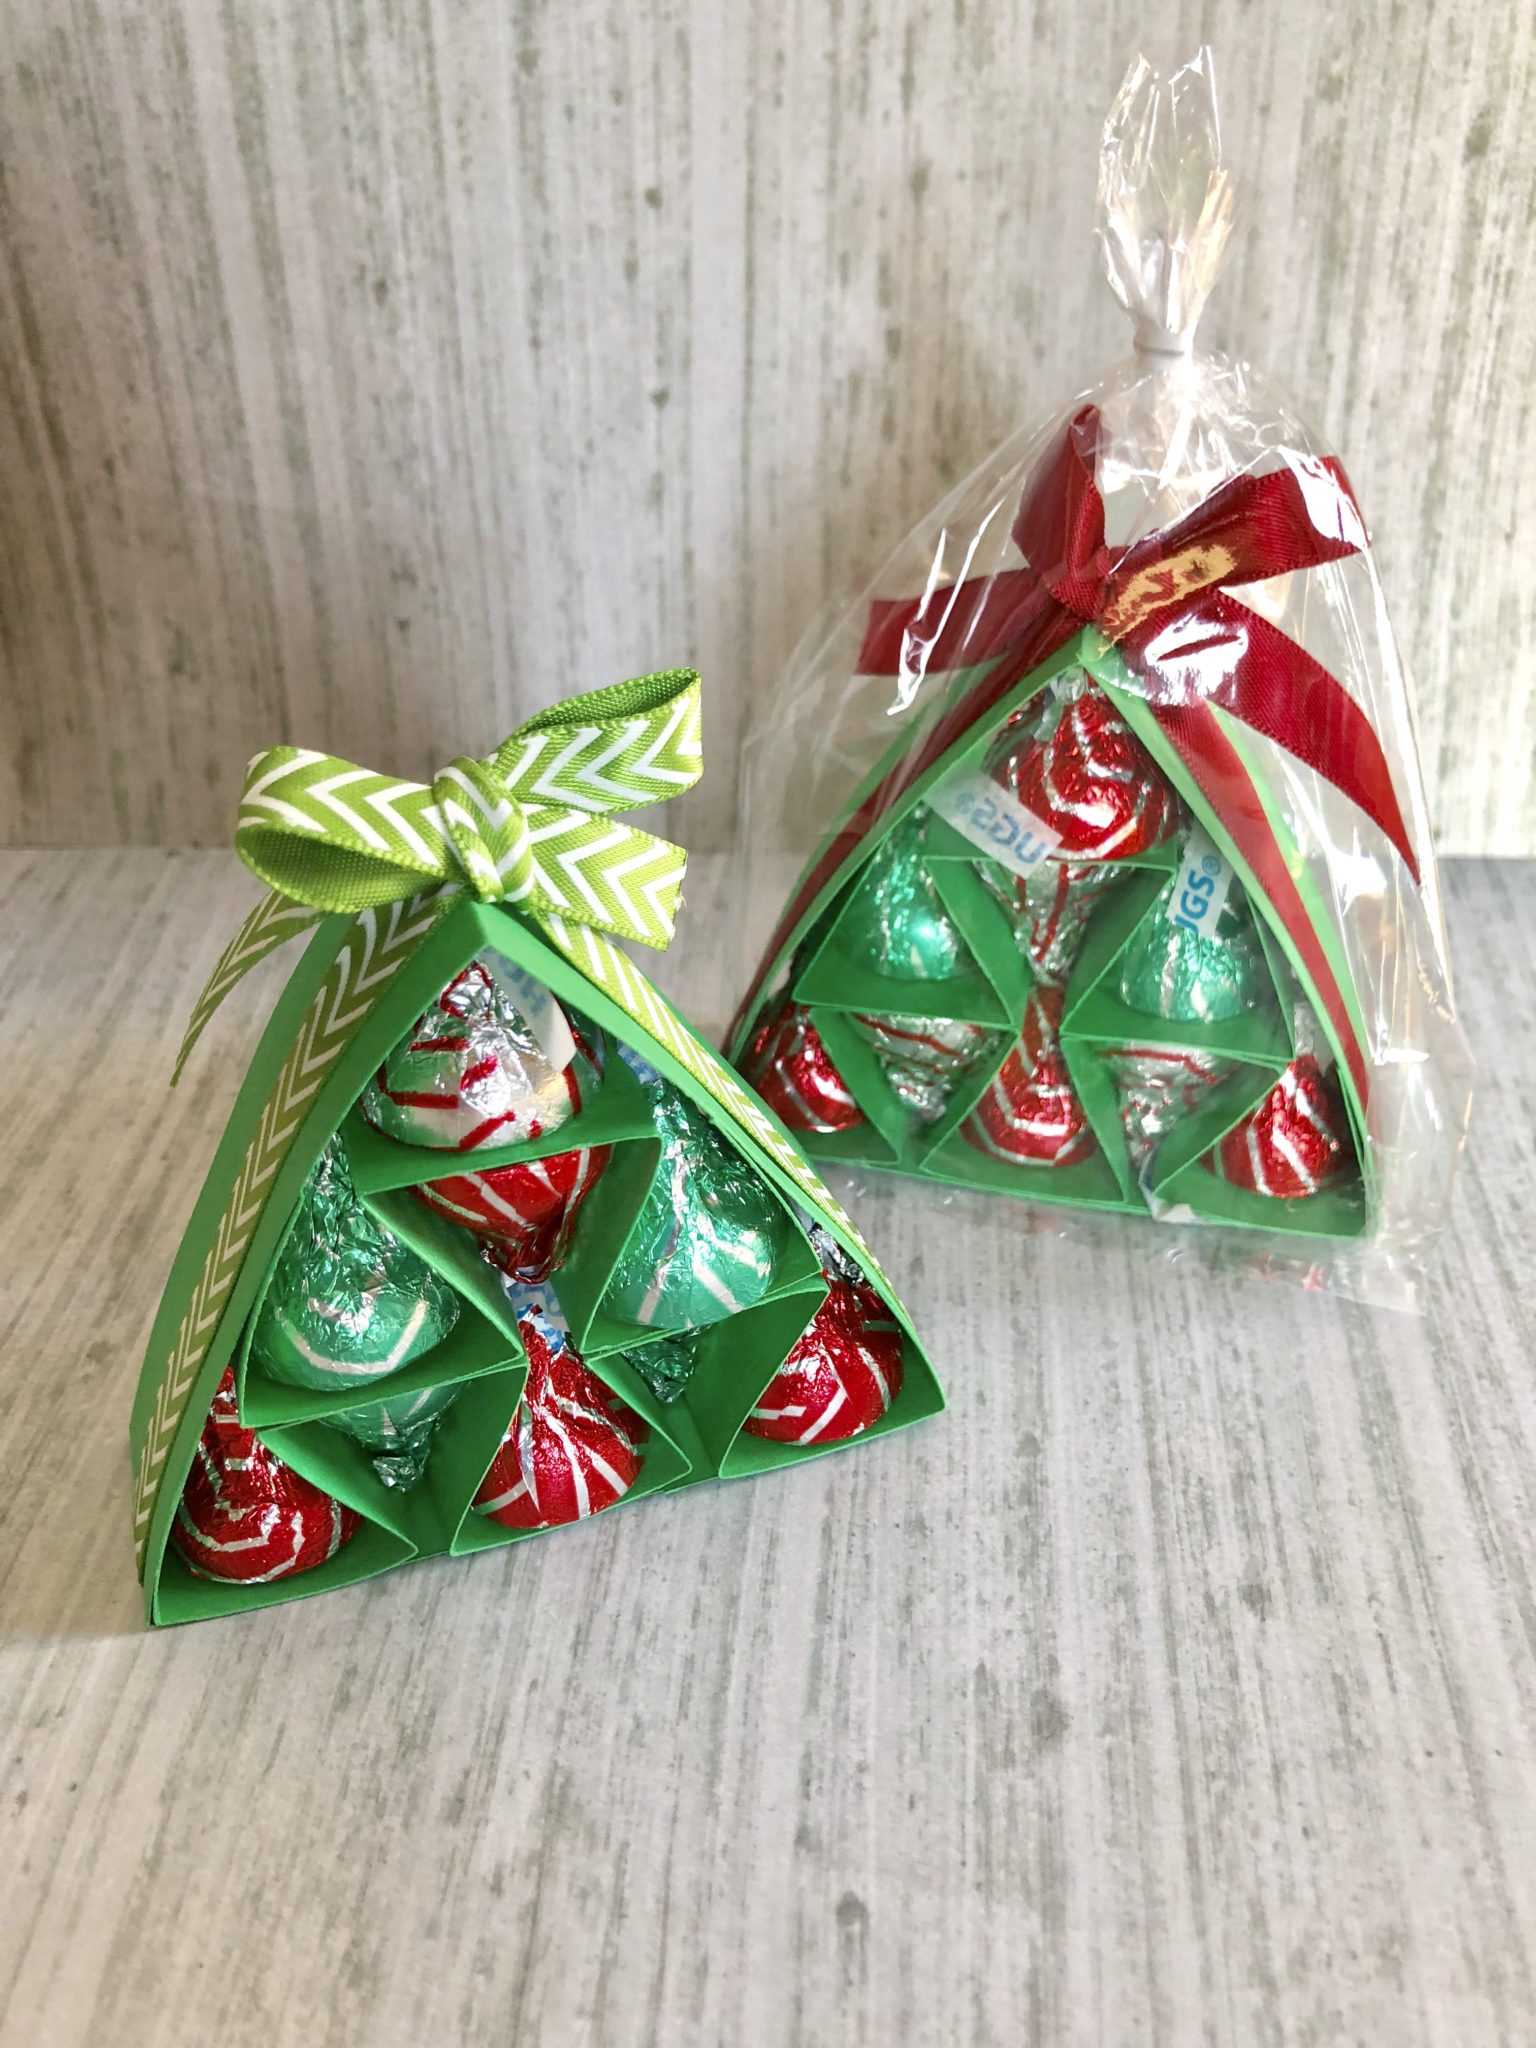
Place finished Hershey Kisses Christmas trees into cellophane bags so they are ready to be gifted. Plus you won’t have to worry about them falling out or getting eaten.
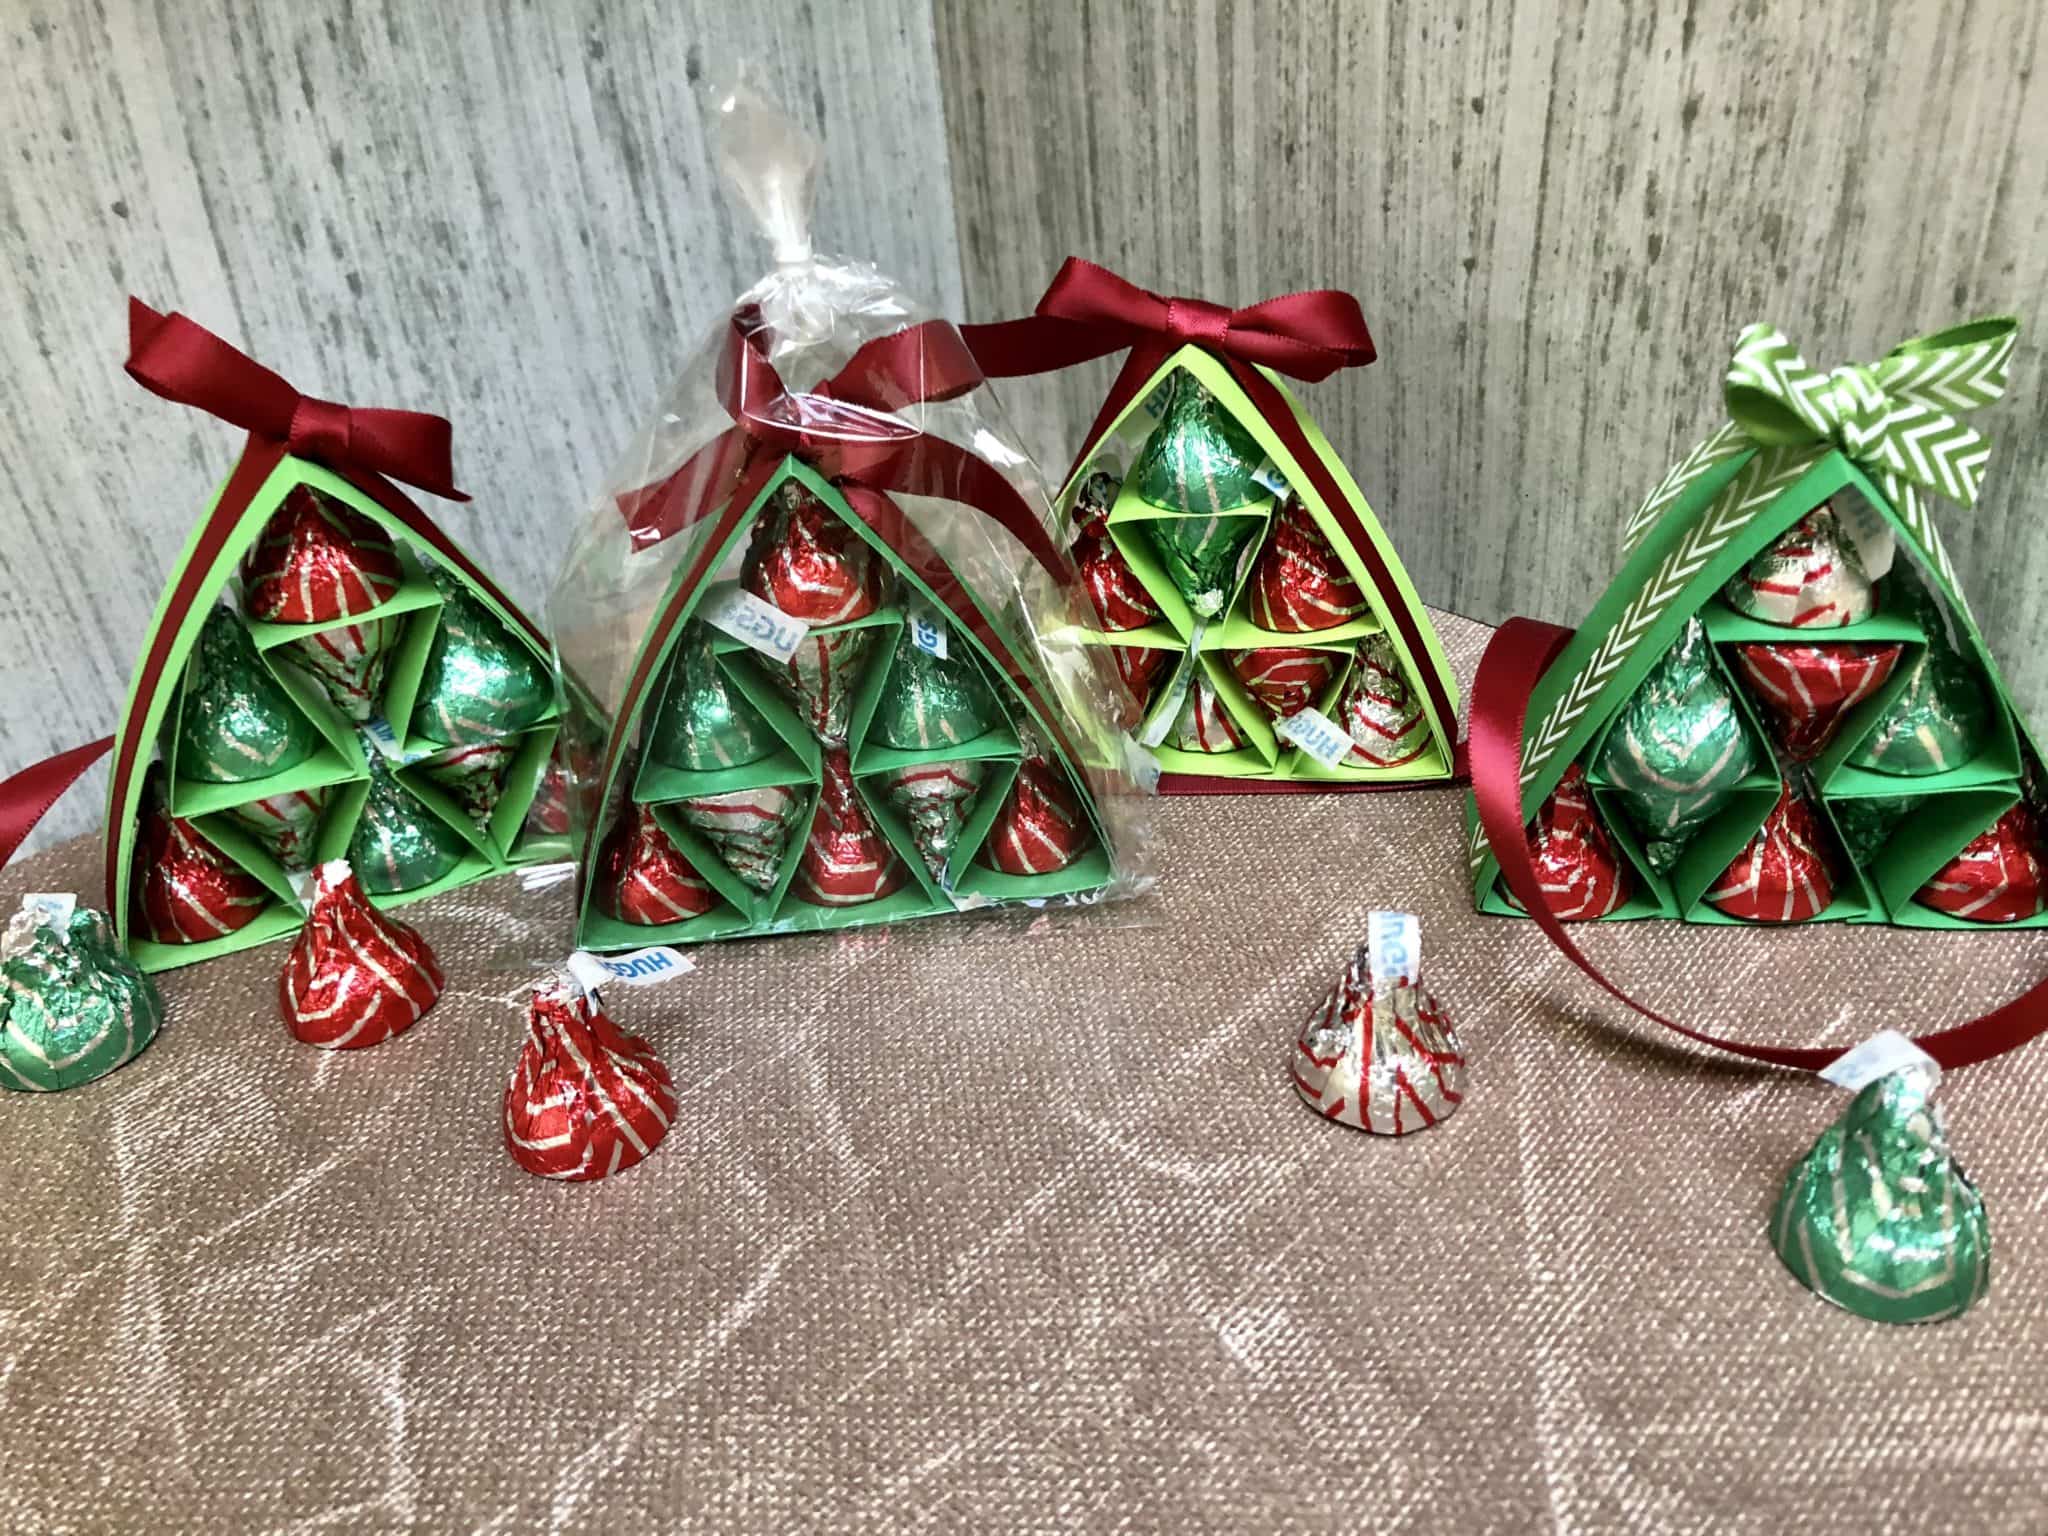
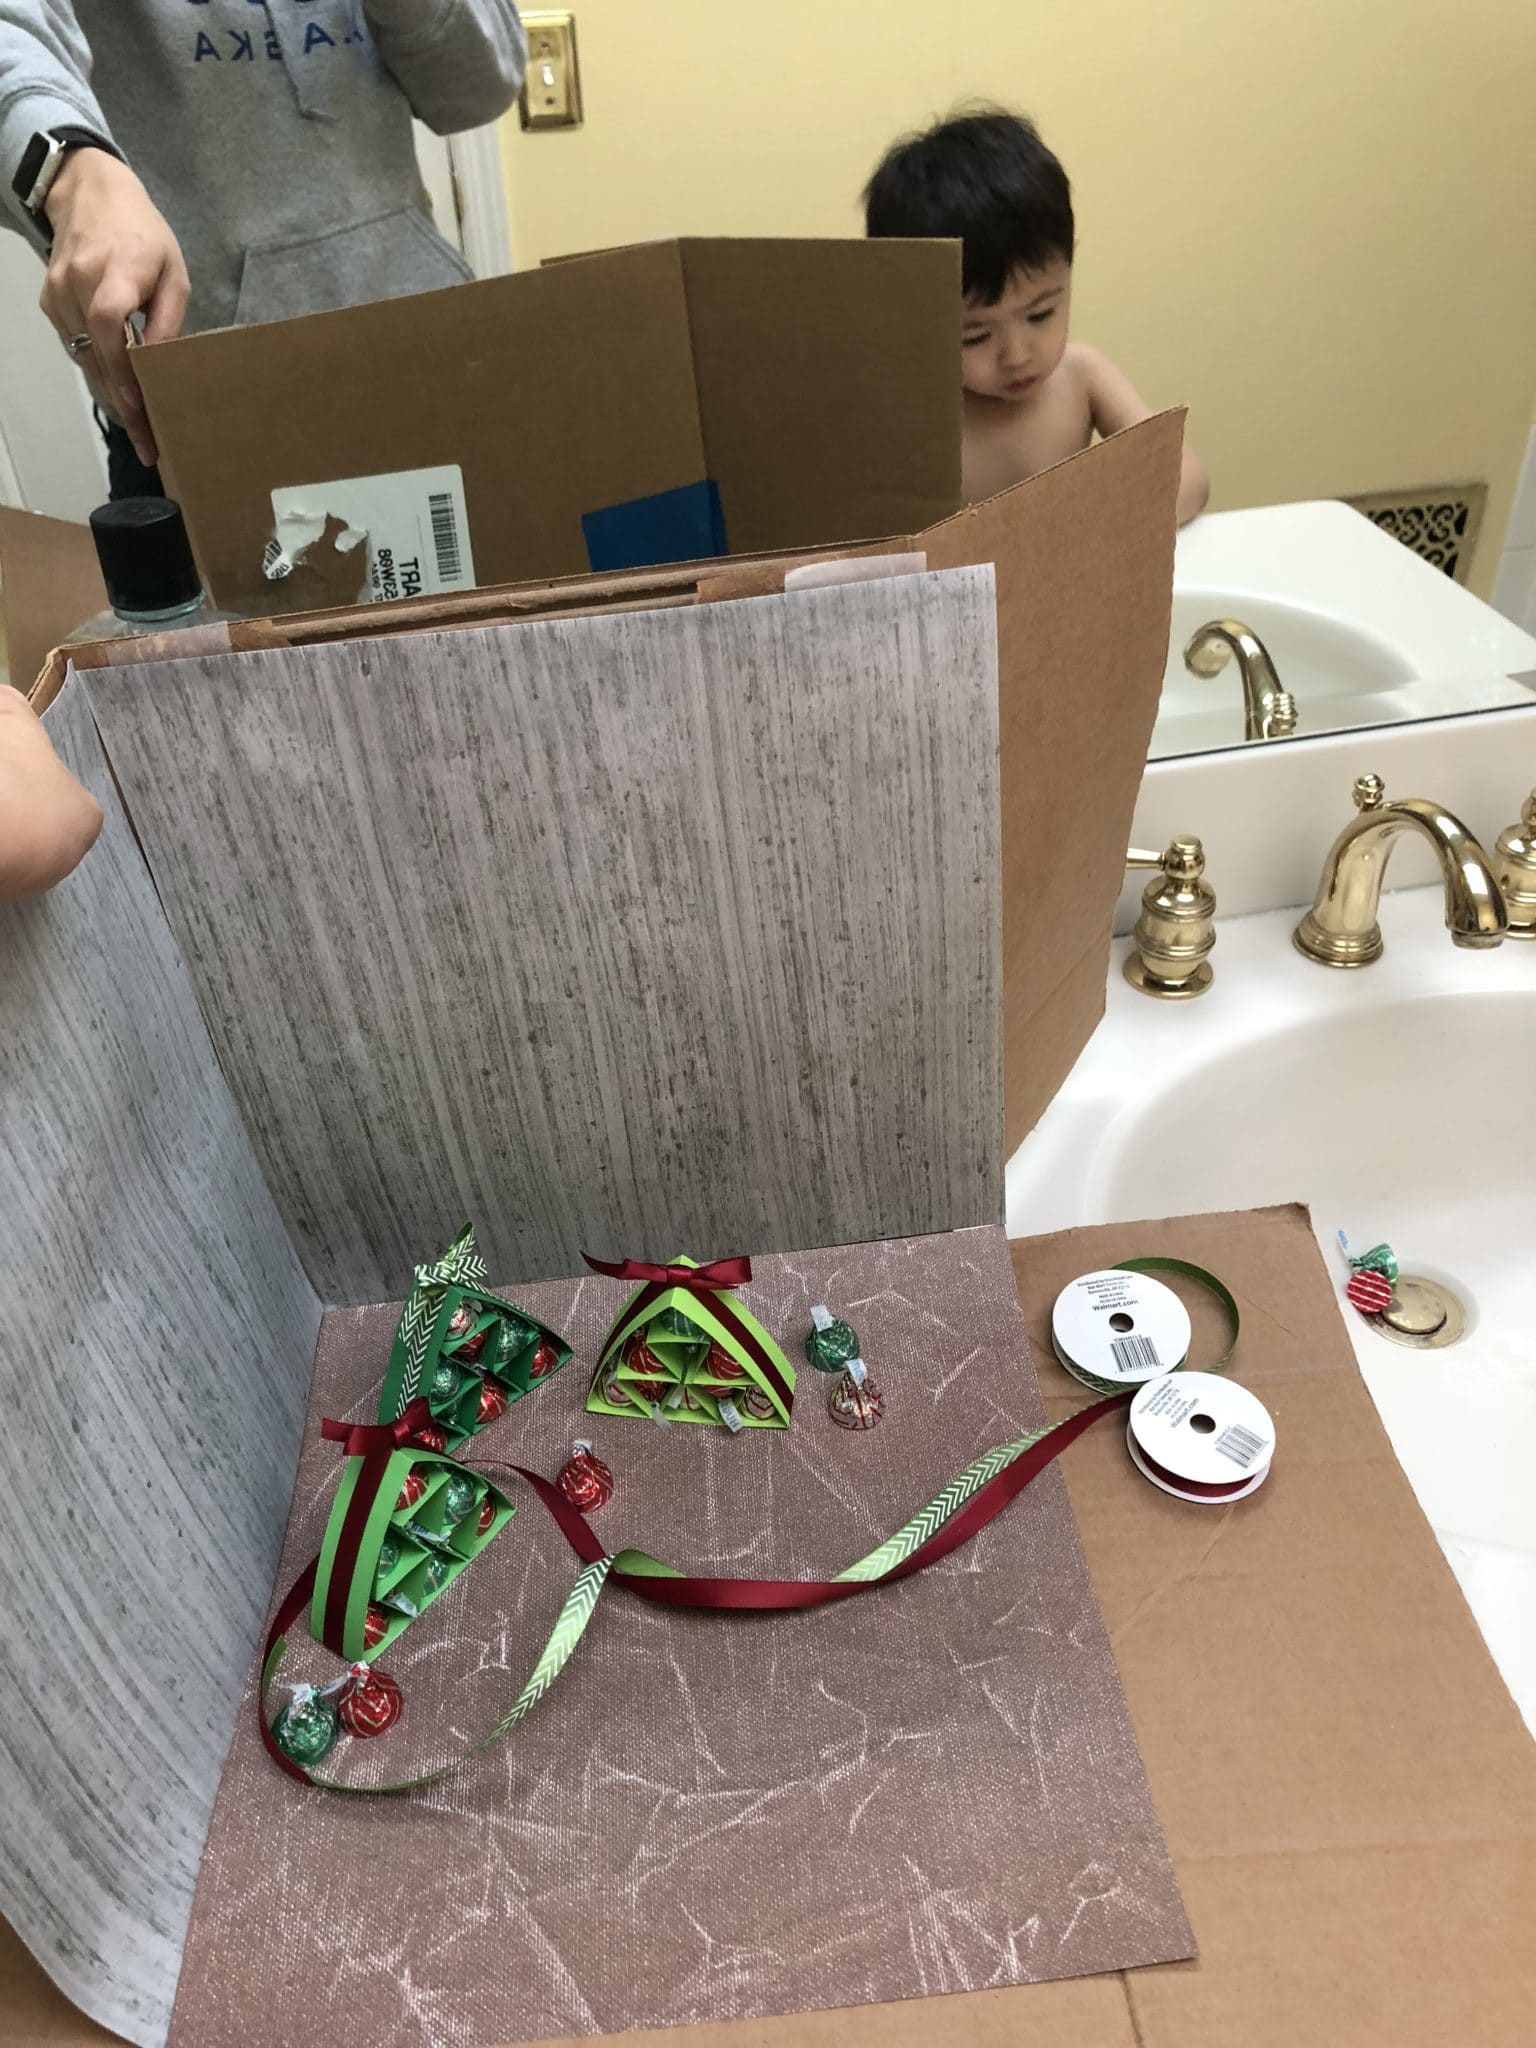
I did 3 shades of green cardstock. A behind the scenes peak of my bathroom photo shoot.
I’m going to play around with flavors and shapes for other holidays. Red ones for Valentine’s Day, green ones for Saint Patrick’s Day, orange for Halloween.
Hope you enjoyed my tutorial! These Christmas trees are easy to make and handy to have for a last minute gift.
Don’t forget to pin for later!


This is so pretty! Why I haven’t thought of this!
Thank you! Yes Q Bee did such a cute job I knew I had to make them.
I think it is such a cool idea to make with kids! I love handmade gift ideas, will pin it!
Thanks! Yes, they tend to eat more kisses than help 😉 lol
Hi there! Do you have a tutorial using only 4 Hershey Kisses and a Rollo for the base?
Thank you for your time.